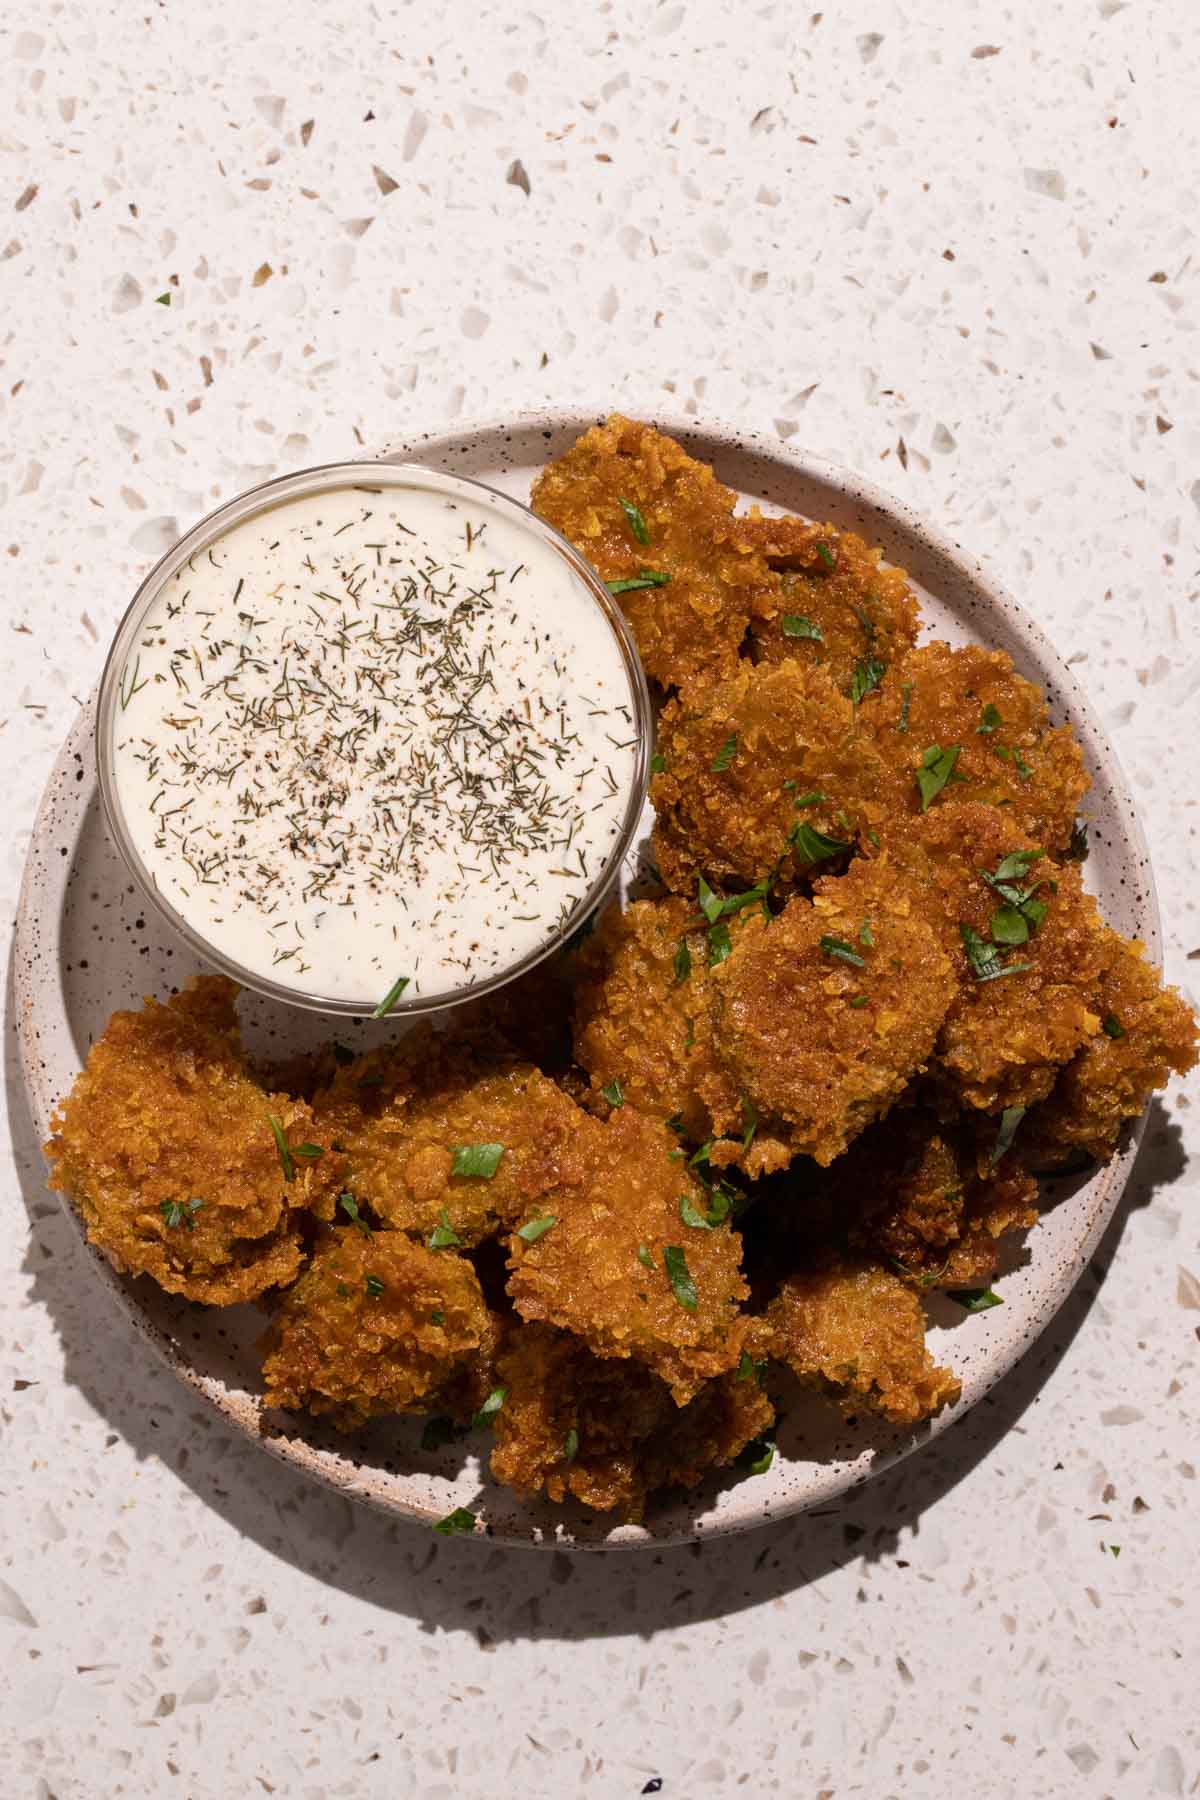
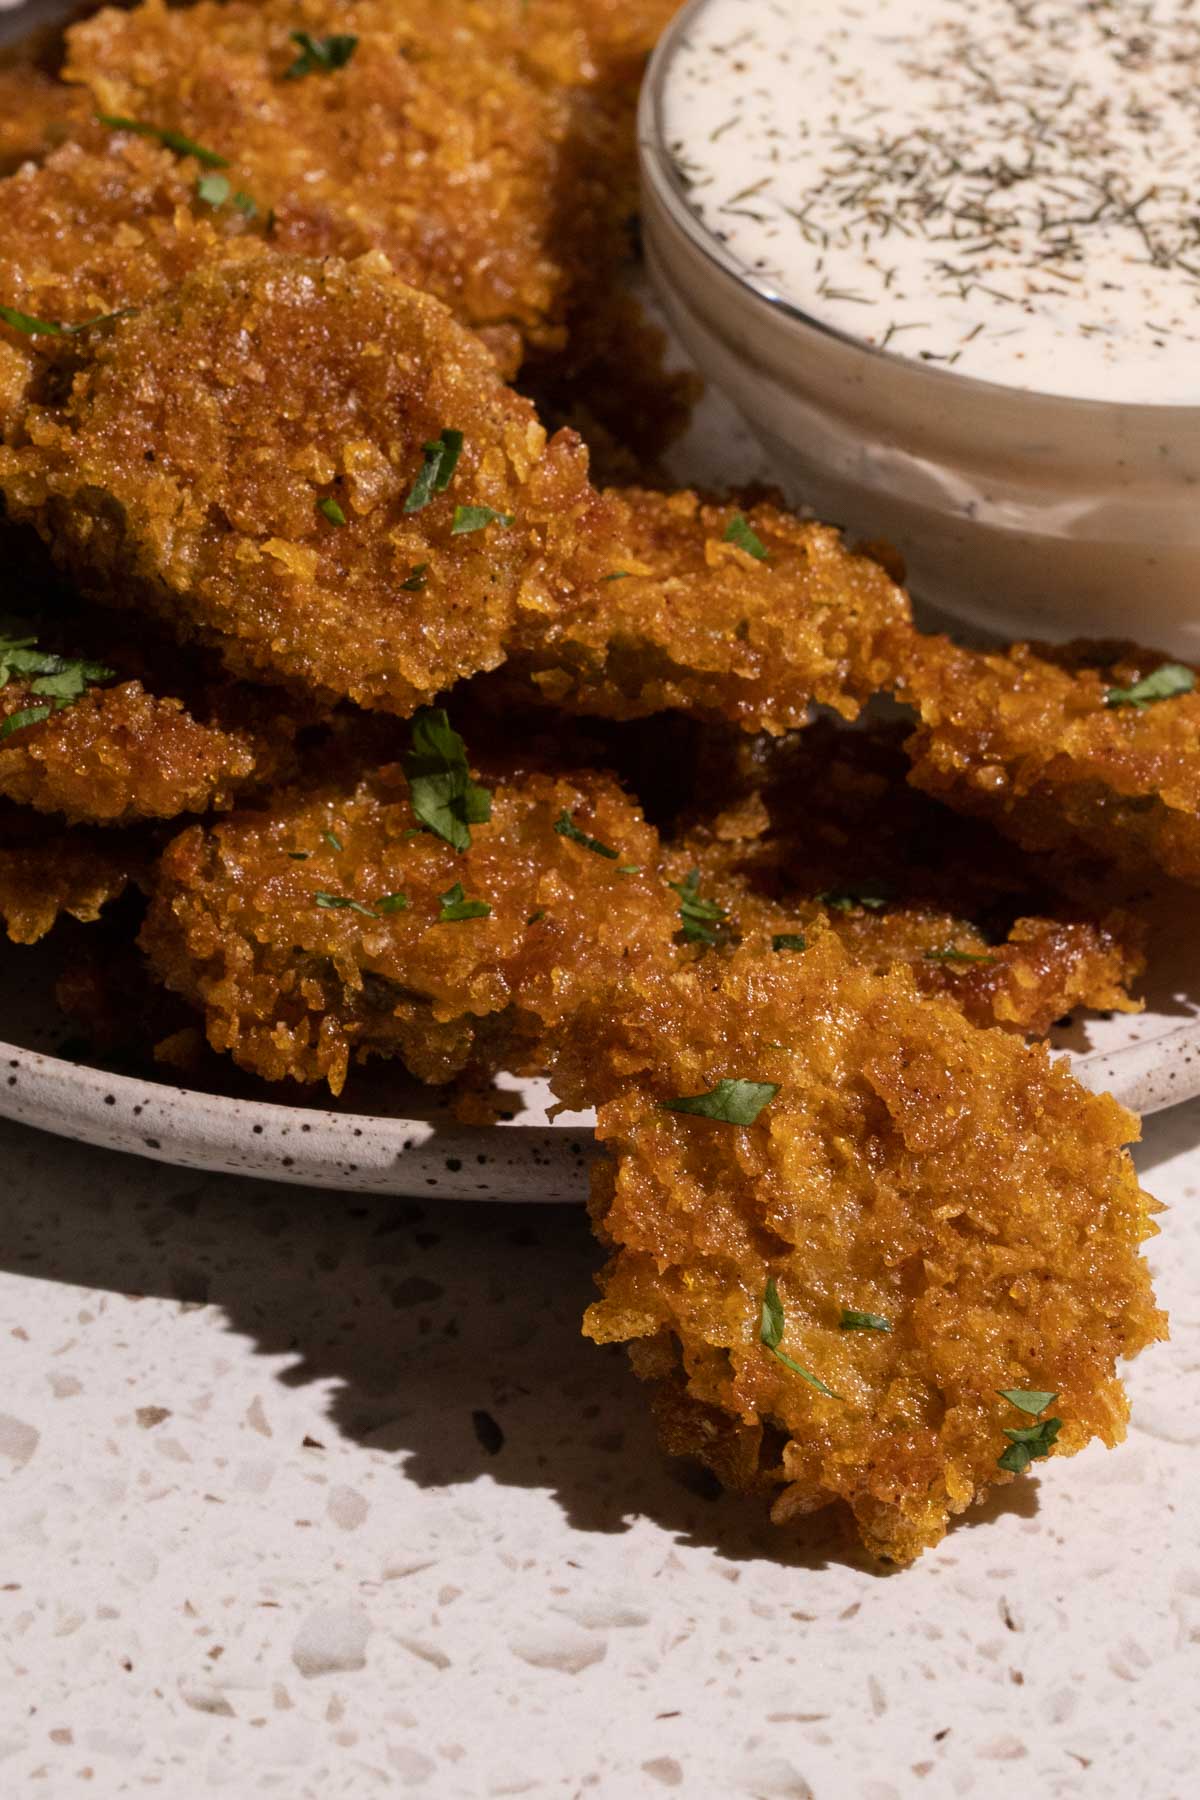
This easy Fried Pickle Recipe with Dill Pickle Ranch dipping sauce is such a crowd-pleasing appetizer. It has one simple ingredient in the dredge that adds far more crunch than plain flour ever could!
Why you’ll love this recipe
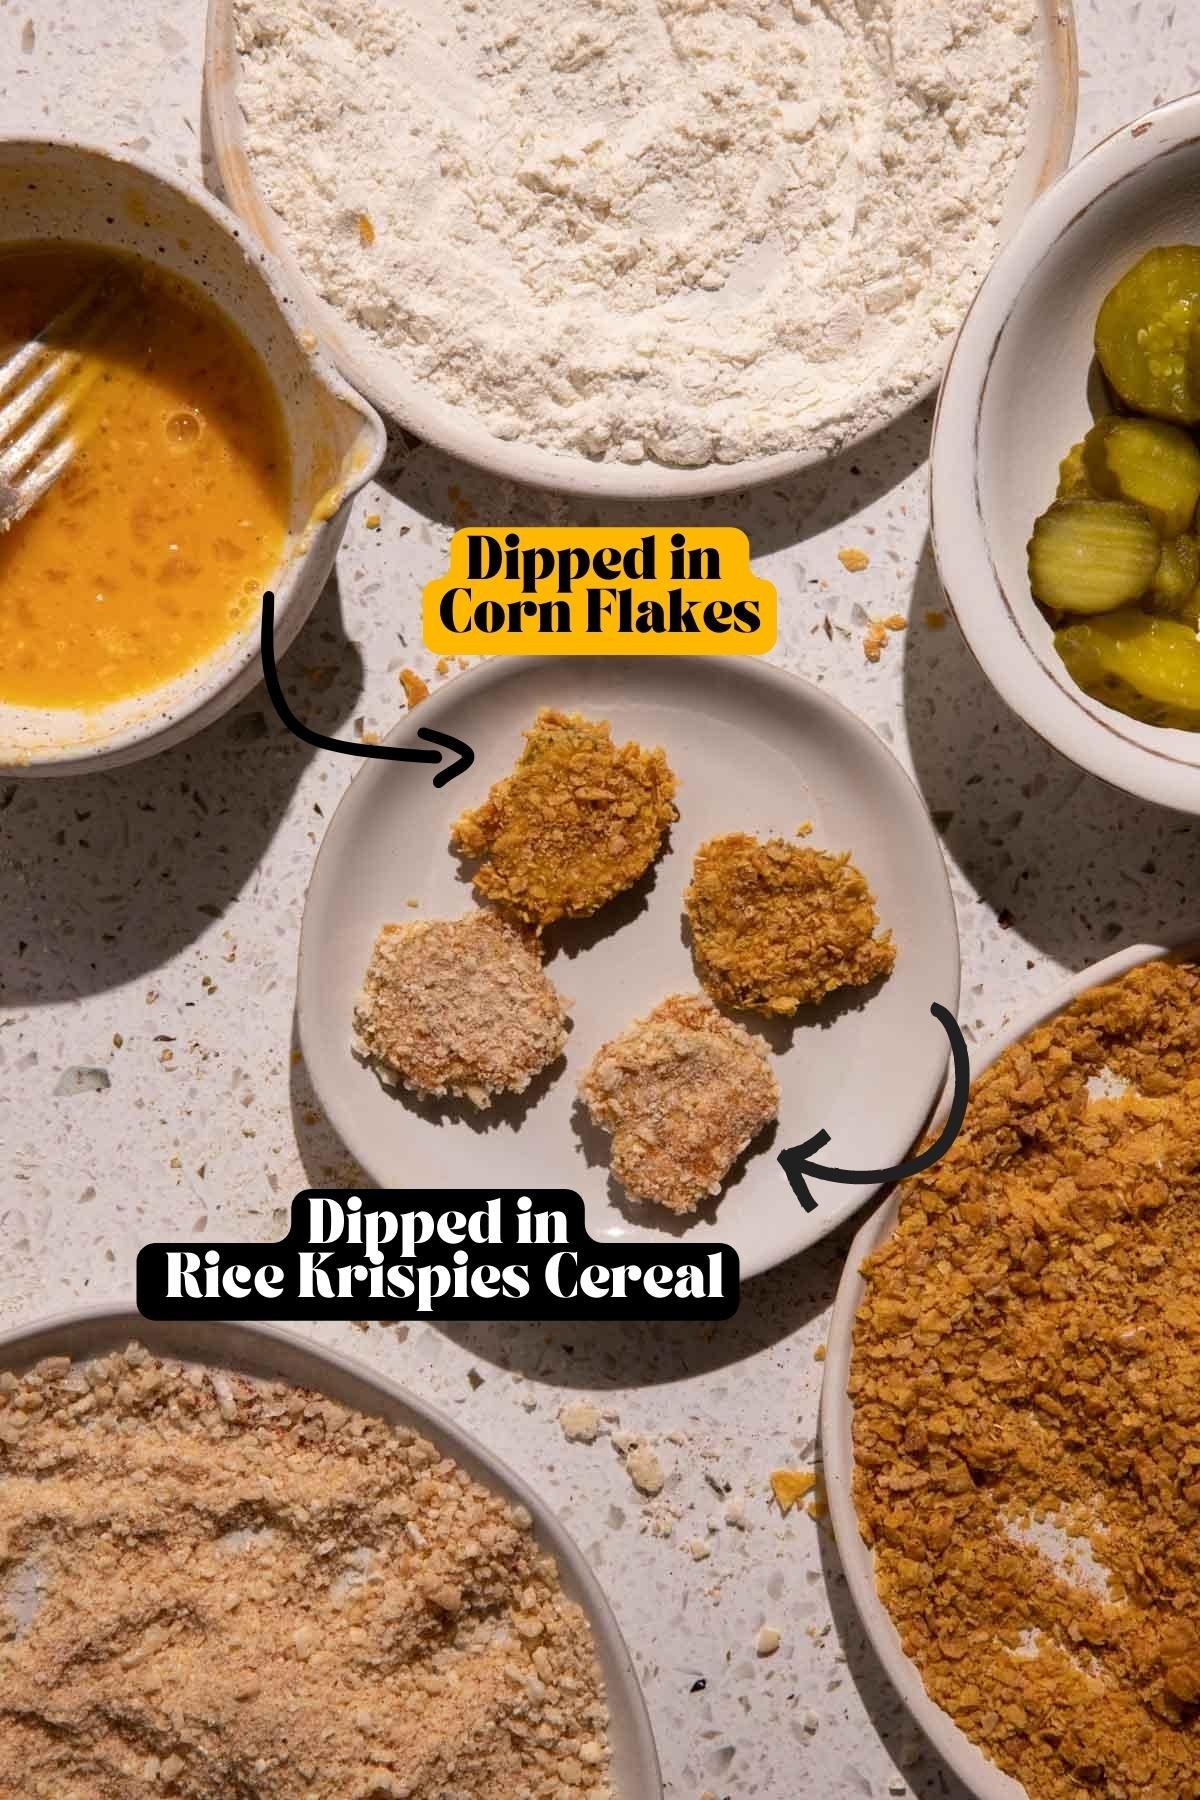
- I use either crushed Corn Flakes or Rice Krispies cereal (generic brands work perfectly too) to add to the top coating in the dredge. Either of these cereals will add SO MUCH MORE crunch to the fried pickles
- The cereal coating also keeps the fried pickles crispier for longer
- The Dill Pickle Ranch dipping sauce is the perfect compliment to the fried pickles and it’s so easy to make
- These are the perfect appetizer for entertaining
Ingredients for fried pickle batter
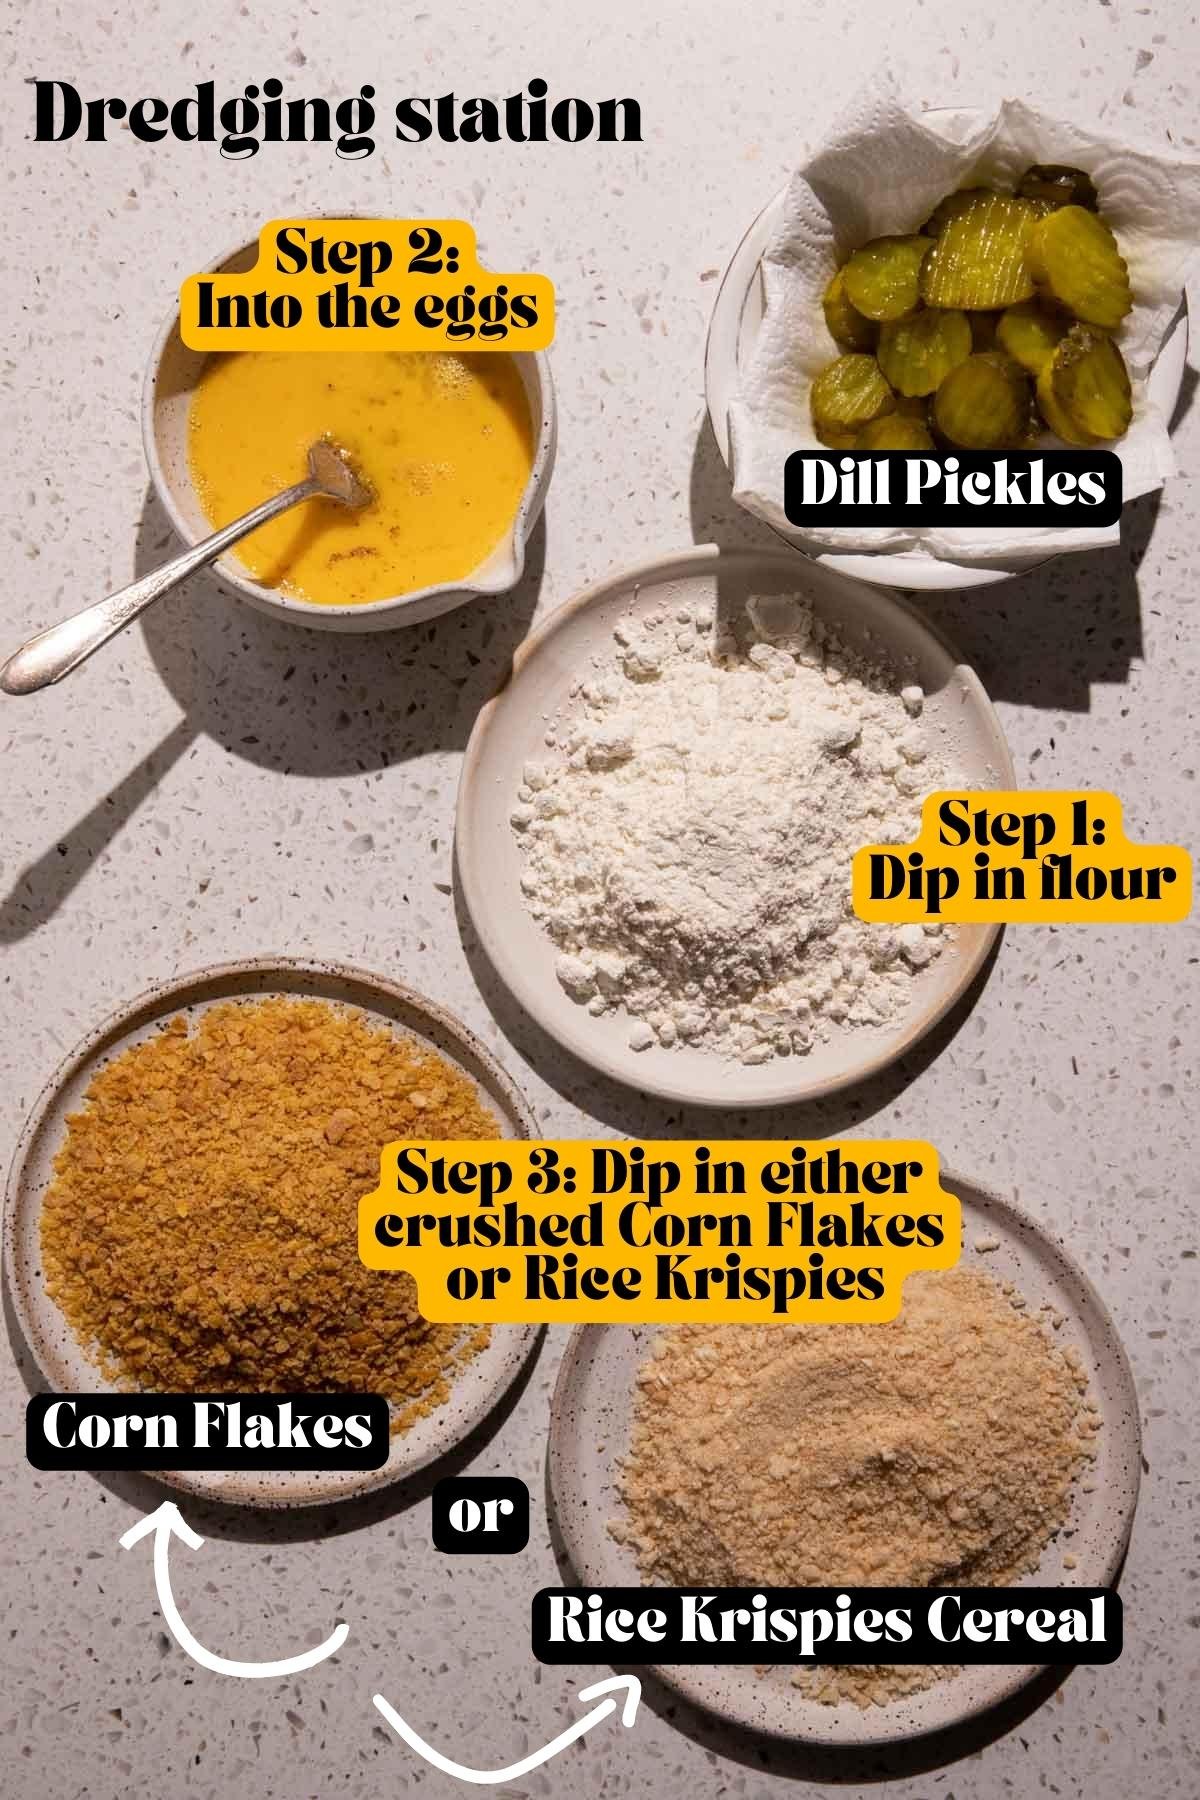
- First Dredge: Plain flour (with seasoning)
- Second Dredge: Beaten eggs (seasoned)
- Third and Final Dredge: Crushed Corn Flakes or Rice Krispies cereal
What kind of pickles do I use for this recipe?
I prefer sliced dill pickles (aka dill pickle chips). I wouldn’t recommend bread and butter pickles because they are slightly sweeter which I don’t think works for this recipe (just my two cents).
Dill pickle spears can be battered and fried too, but they won’t get quite as crisp because they are bigger pieces.
how do you keep the breading from falling off the pickles?
Pressing the pickles in the regular flour first helps the egg to stick to the pickles, thereby helping the cereal coating to stick. When I dredge them into the cereal coating I really press it firmly on both sides to get a nice bit of dredge on the outer layer. Make sure to fully coat them in each layer of dredge all the way around the pickle too.
Pan frying the pickles
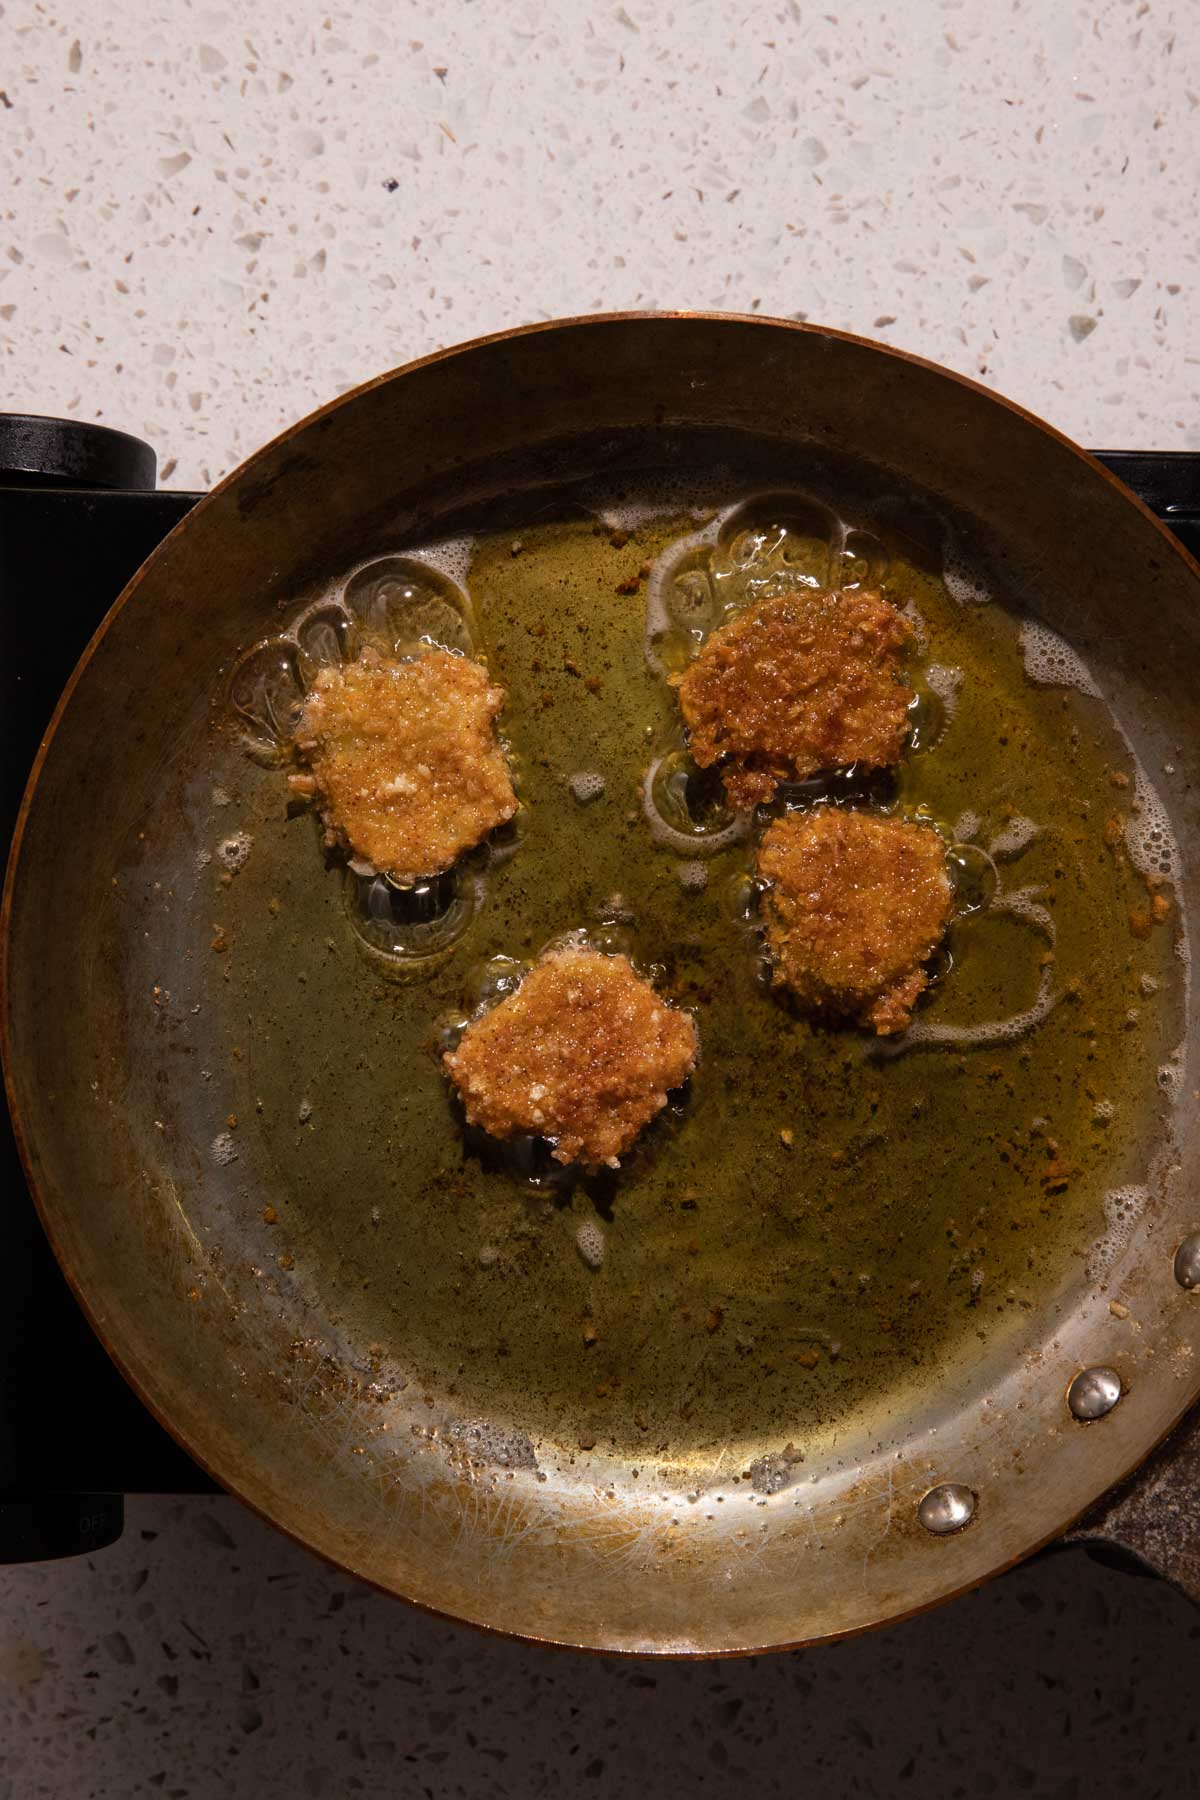
I use a large frying pan and add enough olive oil or neutral oil to coat the bottom of the pan. The pickles don’t need to be completely submerged in the oil to get crispy. You’ll simply turn them after each side gets golden brown.
Also keep the heat in the pan at around medium heat so that the oil doesn’t burn and your coating doesn’t burn either. This also reduces splatter. Just make sure that you don’t start frying until the oil is hot enough to start simmering and sizzling with the pickles.
If you are frying larger batches, you can make the process faster and easier by using two pans to fry in.
Dill pickle ranch dipping sauce
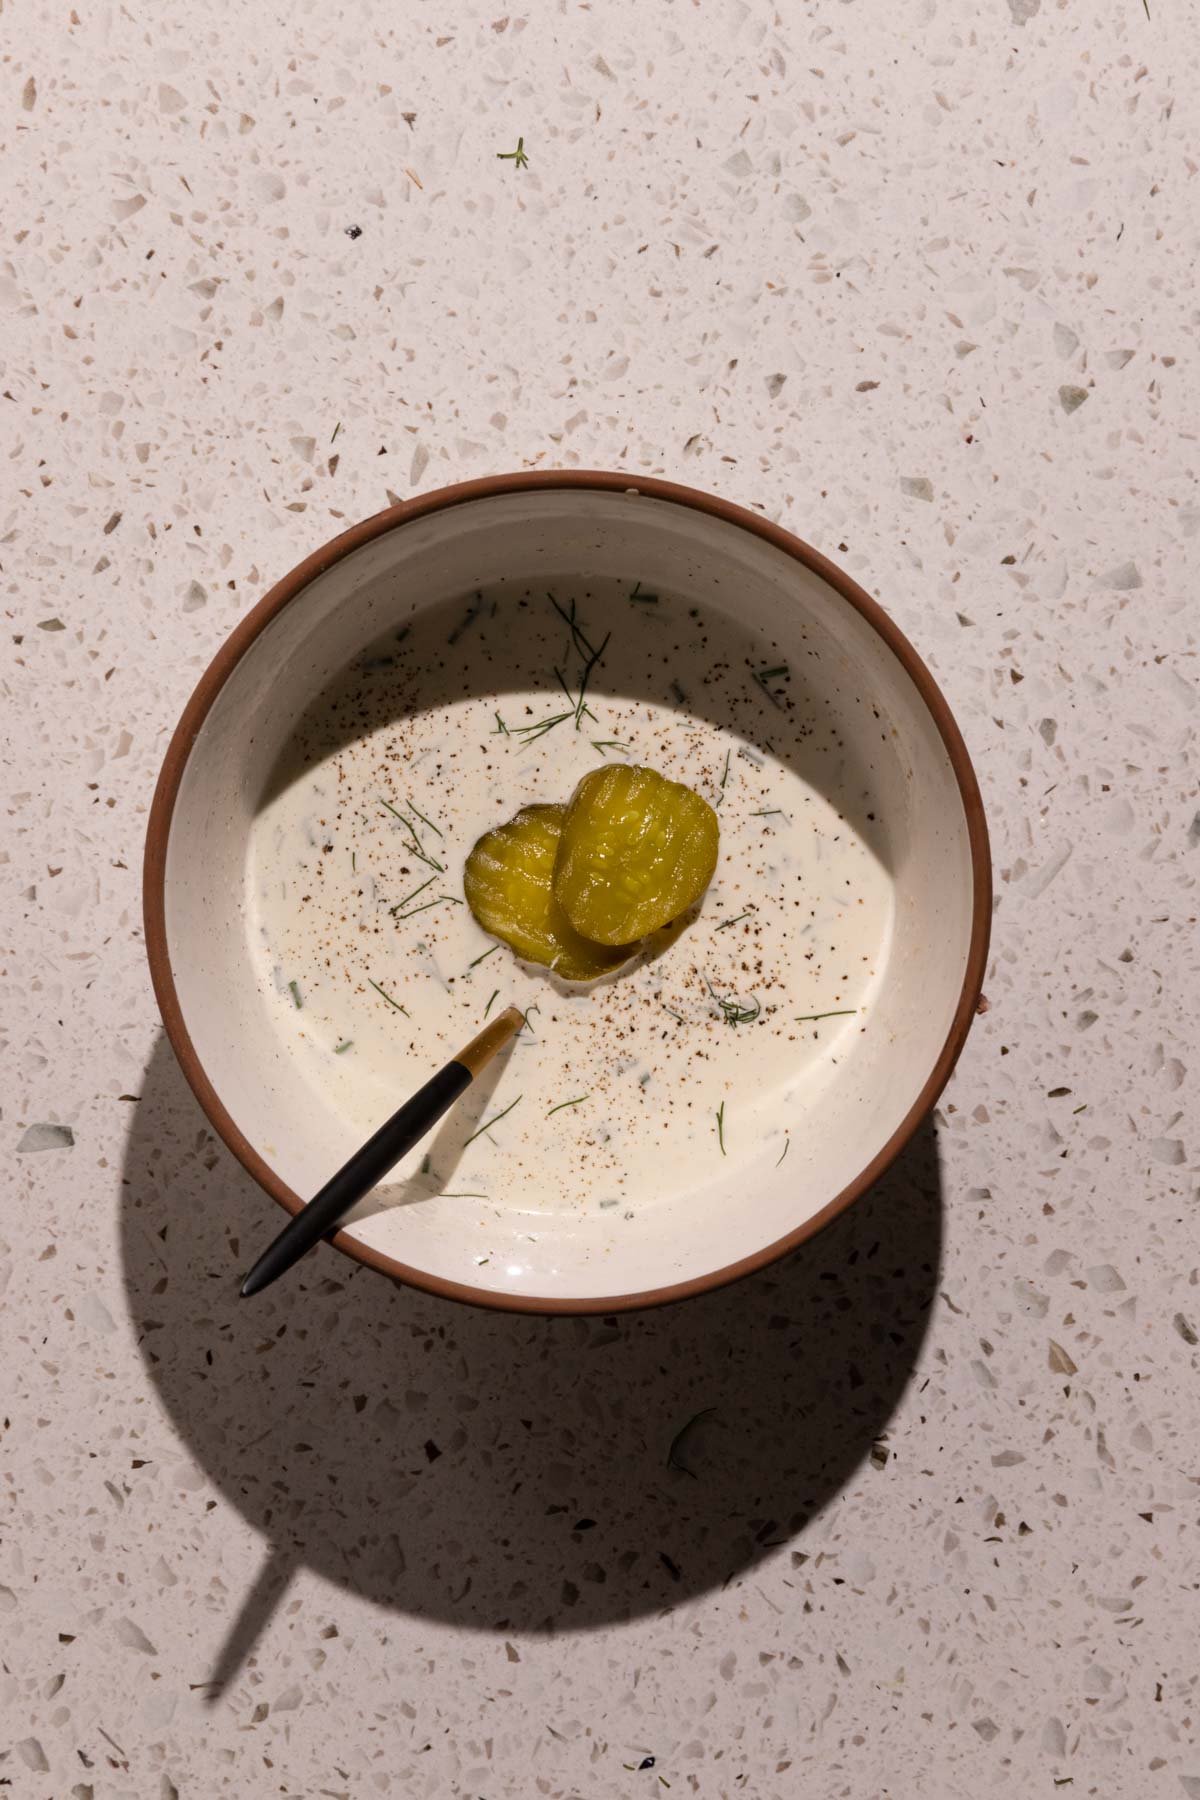
I made the ranch dip with buttermilk, mayo, and sour cream. Then I added fresh dill (you can use dried dill too), pickle juice, and chopped pickles. This ranch dip tastes restaurant-worthy and is SO EASY! You can also use a shortcut, and add fresh dill, pickle juice, and chopped pickles to store-bought ranch if you already have it on hand.
More fried vegetable recipes on Bessie Bakes
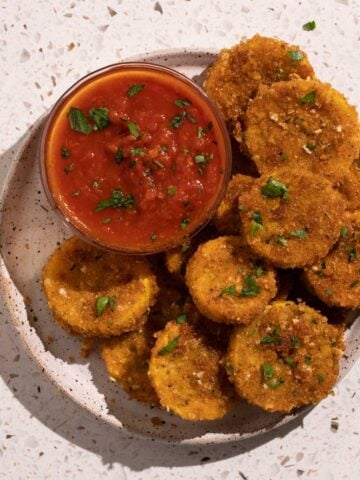
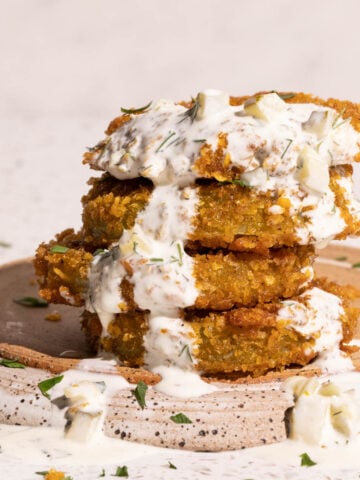
- Fried Green Tomatoes with Dill Pickle Ranch
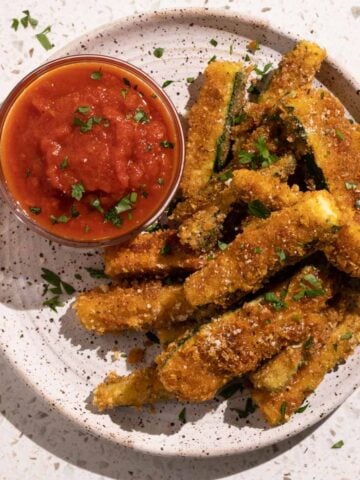
- Extra Crispy Fried Zucchini Sticks
- Extra Crispy Fried Squash Recipe
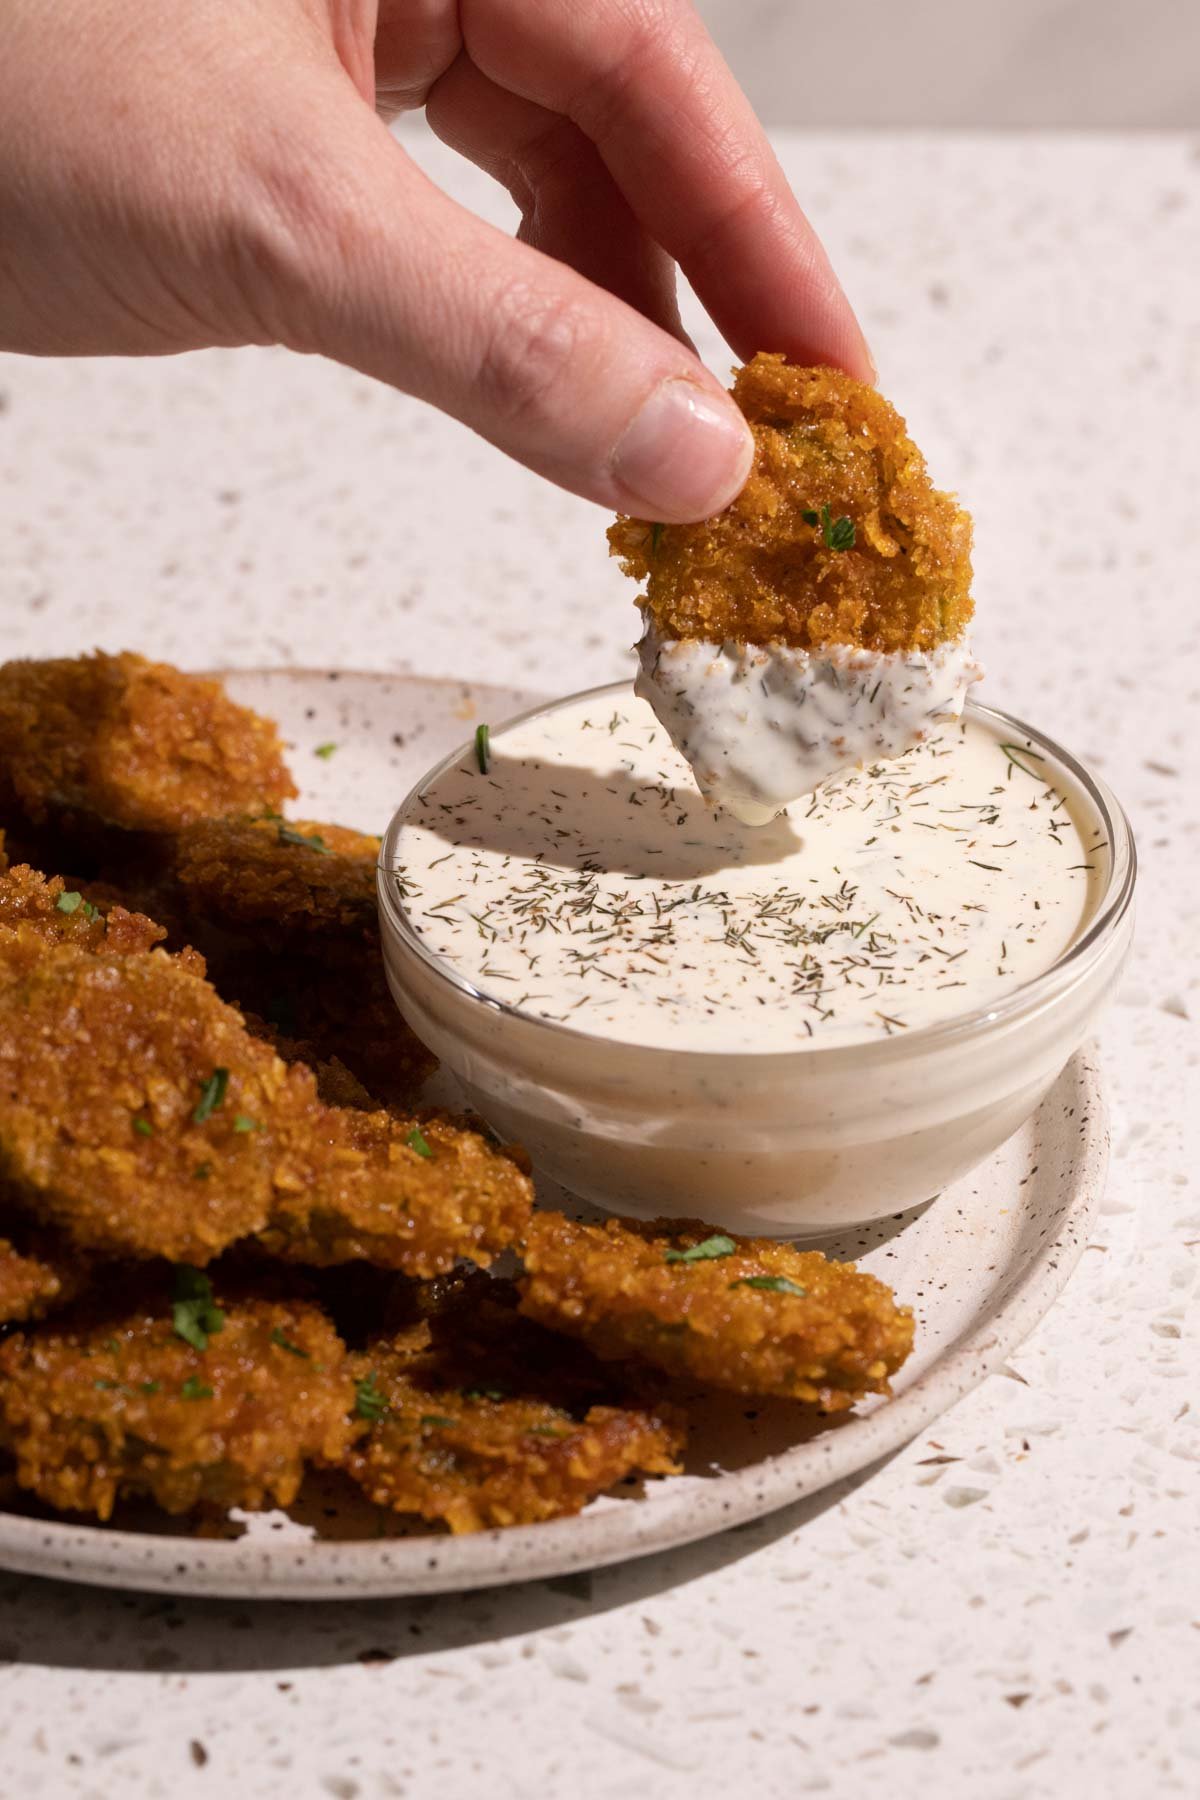
Fry these up and watch them disappear before your eyes!
Bon Appetit Ya’ll,
Leslie O.
Fried Pickles Recipe | Dill Pickle Ranch Dipping Sauce
Equipment
- 1 Frying pan
Ingredients
- 1 16 oz jar of dill pickle "chips" round size pieces
For the Fried Pickle Batter/Dredge
- 2 cups All Purpose Flour see substitutions below in recipe notes
- 2 cups Corn Flakes or Rice Krispies cereal generic brands work well too
- 2-3 eggs depending on how much sticks to the pickles
- salt and pepper for seasoning each layer of the dredge
- 2 tsp Cajun seasoning blend optional
Other Ingredients
- 5-8 TBSP olive oil or neutral oil how much you need depends on the size of your frying pan
For the Dill Pickle Ranch Sauce
- ½ cup mayonnaise preferably full-fat
- ½ cup sour cream preferably full-fat
- ½ cup buttermilk
- 2 tsp pickle juice
- ½ tsp garlic powder
- 1 TBSP fresh dill chopped finely or 1 tsp dried dill
- 2 TBSP dill pickles chopped into small pieces
Instructions
Prepare the Fried Pickles
- Reserve some of the pickle juice for the ranch dressing. Pat all of the pickles dry with a paper towel.
Create the Fried Pickle Batter
- To grind the cereal, you can do this by hand by crushing 2 cups of cereal in a bowl, or you can use a mini or full size food processor to coarsely grind either the Corn Flakes or Rice Krispies cereal. Generic brands work perfectly too.
- Set up a breading station. Place the 2 cups of all-purpose flour on one plate and the coarse ground cereal (Corn flakes or Rice Krispies) on another. In a bowl, whisk the 2-3 beaten eggs. The amount of eggs you need will depend on how much sticks to the pickles or if excess sticks to your hands. Start with two and add one more if needed.Season each component generously with salt and pepper. Additionally, you can add 2 tsp Cajun seasoning blend to the all purpose flour if you like it with a kick.
Coat the Fried Pickles
- Start by dipping a pickle chip slice into the seasoned flour, then into the egg mixture, and finally into the cereal mixture. Ensure both sides of the pickles are fully coated in flour, eggs, and cereal. Press each slice firmly into the cereal mixture to get a substantial coating.
Fry the Pickles
- Heat the Oil: Heat a large skillet over medium heat with olive oil or neutral oil. Maintain medium heat to prevent the oil from burning and the coating from browning too quickly.
- Test the Oil: To check if the oil is ready for frying, add a small amount of flour or cereal. When it gently simmers, the oil is ready for frying.
- Fry the Pickles: Fry a few slices at a time to avoid overcrowding the pan. The pickles should sizzle but not splatter excessively. Turn the slices occasionally until both sides are golden brown. Place the cooked slices on a plate lined with paper towels to absorb excess oil.If the oil gets full of black specks from the coating burning, you may need to use a strainer to strain them out. If it's too tricky to remove most of the black pieces, simply discard the oil and wipe out the pan. Then and add enough oil back to the pan to coat the bottom. If you are making these for a larger gathering, you can use two frying pans at the same time to speed up the frying process.
- Serve immediately with a side of Dill Pickle Ranch Dressing.
- Keep Them Warm: Add them to a paper-towel lined plate to remove excess oil. If not serving immediately, you can transfer the fried pickles to an oven-safe sheet pan with the oven set to "warm." This will keep them warm for about 15 minutes without sacrificing their crispiness. If you keep them warm much longer, they won't be crispy.
For the Dill Pickle Ranch Sauce
- Mix the ½ cup mayo, ½ cup sour cream, ½ cup buttermilk, 2 tsp pickle juice, 1 TBSP chopped fresh dill (or 1 tsp dried dill), ½ tsp garlic powder, and salt and pepper, together with a fork or whisk in a small bowl. Stir in the chopped dill pickles. Adjust seasoning if need be.I find that the equal parts mayo, sour cream, and buttermilk combo delivers the best ranch flavor. If you substitute one of the ingredients out, it will likely taste like a dip, but not ranch. And YES, the buttermilk does make all the difference!
Video
Notes
substitutions for a cereal crust
- You can use either all purpose flour or cornmeal for the top coating, but neither will create that extra crispy crust quite like cereal (but they will do in a pinch)
- Panko bread crumbs will get as close to creating the crispier crust than any other substitutions
can i make this recipe gluten-free?
Yes you can! Substitute the all purpose flour in the first dredge with either cornstarch, potato starch, rice flour, or an all purpose gluten-free flour blend. For the cereal crust, use the Rice Krispies cereal since it’s naturally gluten-free.Additions and Variations
- To achieve an even crispier texture, refrigerate the coated pickles for 20-30 minutes before frying.
- Experiment with different seasonings in the cereal mixture, such as garlic powder or paprika, to customize the flavor profile.
Can you prep these in advance?
- You can certainly prep all the dry ingredients and place them in plates or on bowls, and season them. Cover the plates and bowls and place the beaten eggs in the fridge. You can prep the dredge ingredients 1-2 days in advance.
- You can dredge the pickles up to 30 minutes before frying and place them in the fridge to help the dredge set.
- You can fry them and keep them warm in the oven for about 15 minutes, but not longer as they will lose their crispiness.

Sounds perfect! About to try this recipe this evening. Can’t wait to report back. Thanks!