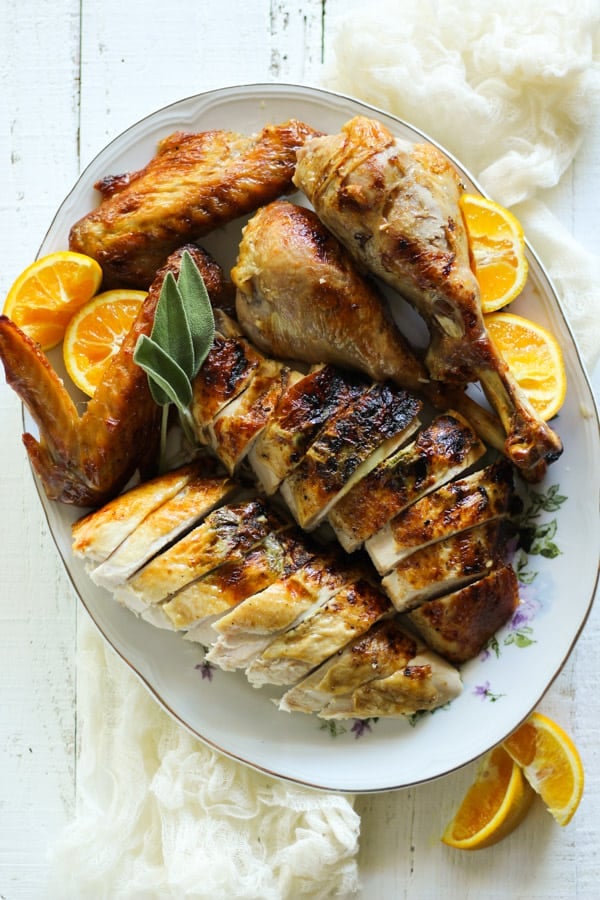
Are you hosting Thanksgiving dinner and want to learn how make a roast turkey that your guests will be swooning over? Well then, this EPIC duck fat roasted turkey recipe is guaranteed to deliver an unforgettable turkey dinner!
Whether you are hosting Thanksgiving this year for the immediate family or a whole army of relatives, the turkey is by far the most important dish to serve. Nothing is more disappointing than a dry, flavorless roasted turkey.
On the flip side, nothing compares to a Thanksgiving turkey that is melt-in-your-mouth tender and moist and seasoned to perfection.
I feel like shouting on a mountaintop because I CRACKED THE CODE to creating a roasted turkey that I know will yield the same fantastic results year after year!!!! Even if you have your go-to seasonings and flavors you add to your turkey every year, the techniques I’m going to share with you will result in the best possible version of your creation, I guaran-damn-tee it.
My roast turkey recipe is filled with cinnamon, oranges, and fresh sage which permeate your home (and your turkey) with the most intoxicating aroma.
But let’s go a step further… The real reason your turkey sometimes comes out right and other times turns out to be sad and dry and makes you want to cry is because you probably have overlooked a few key steps to ensure a moist bird every time. I promise that if you follow each of these steps, you will never bake another dry and boring turkey EVER AGAIN!
EPIC ROAST TURKEY SECRET #1
Brine your turkey!
Ok folks, if you have never brined a turkey, then you have been missing out on loads of extra moisture and flavor. Brining is the process by which you dissolve salt (and often times sugar) into water and soak your uncooked meat in it for several hours to allow the meat to absorb extra moisture that is looses while cooking. Think of it this way. If you simply season the surface of the turkey and bake it, you will be loosing a lot of moisture in the bird, and when you cut into the meat, only the surface of the meat will taste seasoned. The deeper you cut into the breast meat, the more bland and dry it will taste. Brining solves this problem.
You might be thinking, “But doesn’t salt pull moisture OUT of meat?” The answer is yes, but with brining in water and salt, you are allowing moisture and seasoning to permeate deep down inside the meat, ESPECIALLY the breast meat which dries out so easily.
Case in point: While testing this recipe, I baked two turkeys that were both 12 pounds the exact same way with the same flavors. The first bird I didn’t brine. The second bird was brined overnight. The result?
The first bird was good, but lacked seasoning deep down in the breast meat and was a little dry even though I took it out of the oven at 161 degrees and let it rest before carving.
The second bird…..oh I just melted when I took ONE bite of the breast meat. It was SO much more tender than the first turkey and even my family agreed that it was the undisputed winner! It was by far, the BEST turkey I’ve ever baked.
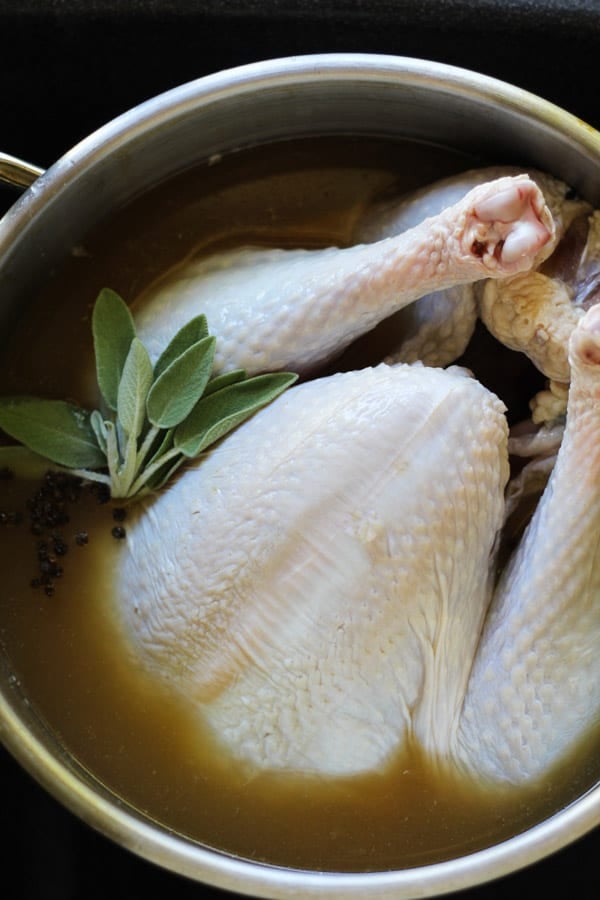
My brine recipe is simple: Water, kosher salt, brown sugar, orange juice, fresh sage, and whole peppercorns. You can certainly play with the additional flavorings, but the water to salt to sugar ratio should stay the same.
EPIC ROAST TURKEY SECRET #2
Truss your bird!
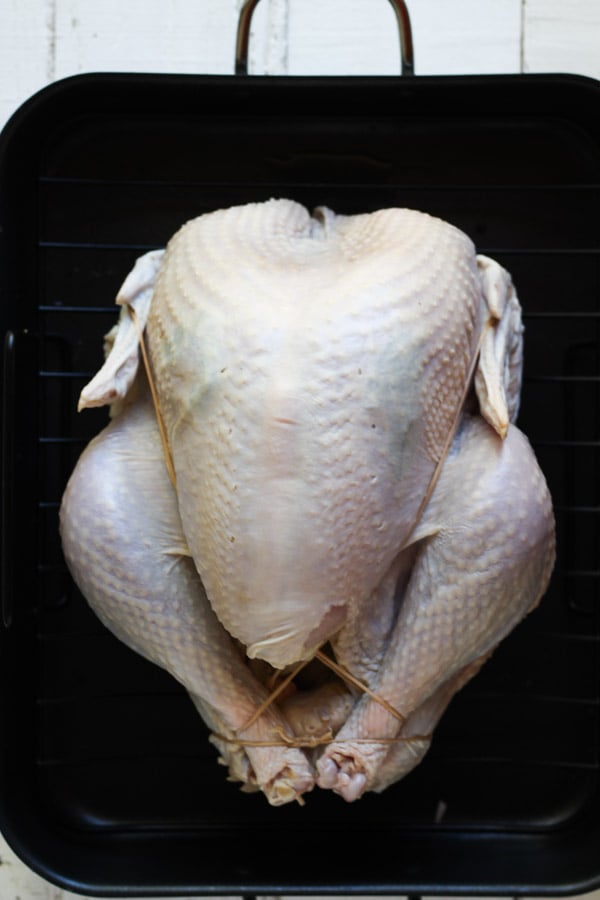
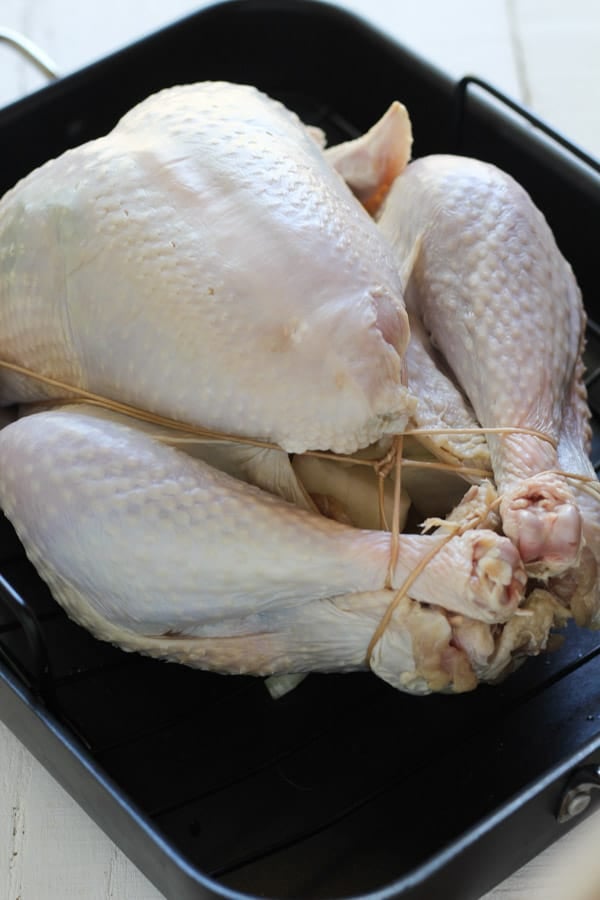
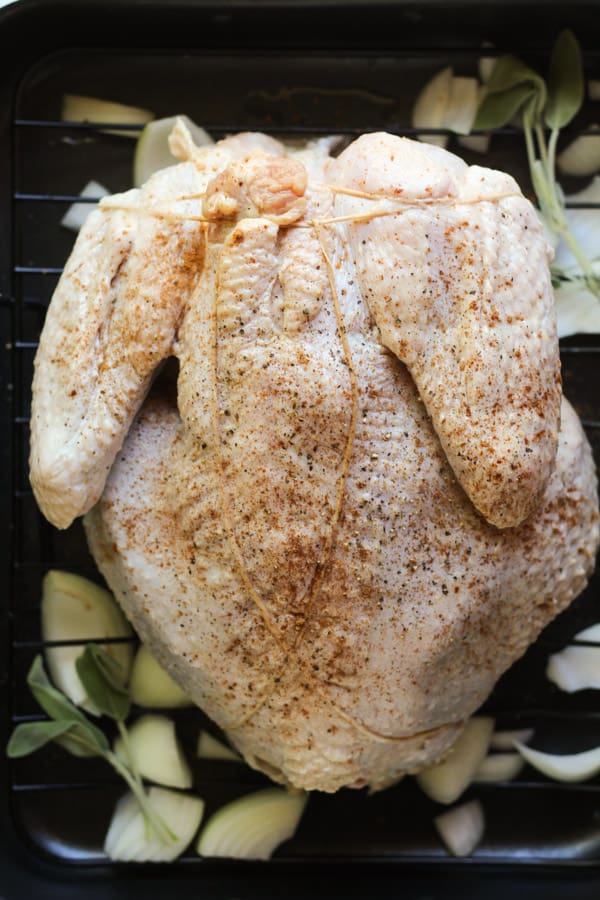
Yes, take the extra step to secure your turkey with butcher’s twine before baking. This is going to serve a few purposes. The best reason is that it helps the bird to cook evenly because it keeps the wings and legs from fanning out. As a result, the presentation of the bird is more beautiful. But the last reason is the because of the way in which we bake the bird. We’ll get to that in a minute.
Here is a great video by Alton Brown for how to truss a turkey.
EPIC ROAST TURKEY SECRET #3
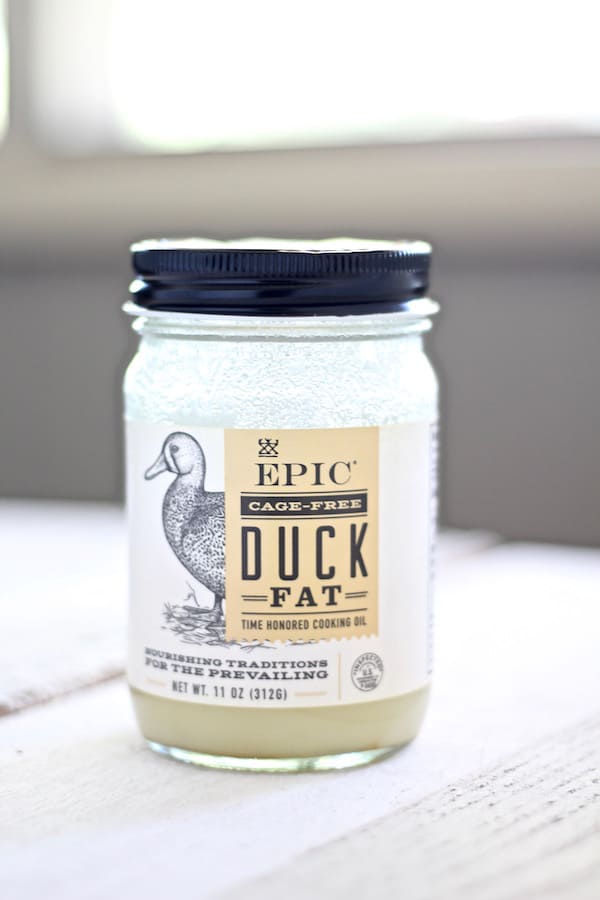
Duck fat baby!
Since last year, I have been experimenting with duck fat, and the flavor it adds to roasted meats just blows me away! I actually don’t even like duck breast because it’s too rich and fatty for my taste. However, using just a bit of duck fat for cooking literally transforms a roast chicken or turkey. There is no gamey flavor, I promise.
I personally love the Epic Duck Fat brand because sustainability, environmental responsibility, and animal welfare are at the forefront of their business model. Besides, their duck fat taste exceptional! Here is an affiliate link for Epic Duck Fat on Amazon (it’s way more affordable than you’d think). A little goes a long way and it stays fresh in the fridge for a good while!
EPIC ROAST TURKEY SECRET #4
Cook your bird UPSIDE DOWN!
The biggest problem with cooking a turkey is that the breast meat dries out so easily because it lacks the fat the dark meat has. Baking a turkey upside down solves this problem for you. The rich dark meat is exposed during most of the cooking process, thereby self-basting and protecting the breast meat. I actually baked my first turkey upside down at the young age of 19. It was glorious! I couldn’t believe how good it was. The only problem was it was difficult to turn over without damaging the bird. Remember how I said trussing the bird would help with the cooking technique? Well, trussing actually makes flipping the bird over a cinch! I only needed a wooden spoon and some kitchen thongs to turn the bird over during the last hour of cooking. I didn’t damage the bird and the wings and legs weren’t flopping all over the place.
For the record, you can absolutely bake a roast chicken upside down too!
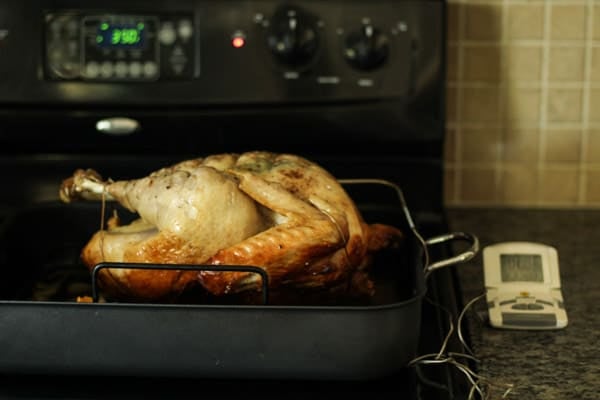
As you can see below, I used an oven-safe thermometer to check the temperature of the breast meat once I flipped it over. Because it had a long oven-safe stem, I was able to insert the thermometer into the breast meat while keeping the base of the thermometer on the counter. I can the set the temperature and it will beep when the meat has reached that temp., keeping you from having to open the oven.
HOW TO CRISP THE SKIN
The last problem we need to solve with the methods I have recommended is that while brining adds extra moisture, it makes it difficult to crisp the skin. Cooking a bird upside down will also inhibit browning.
Solution
For starters, after I have brined the bird, I like to dry it really well and let the turkey sit in the fridge uncovered for 8-12 hours. This dries out the surface, helping it to crisp.
When baking, I actually start the oven at 450 degrees and cook the bird breast-side down for 30 minutes. Turn down the oven to 350 degrees and cook for about 1 hour (breast-side-down). Turn the turkey breast-side-up and check the temperature of the breast meat. Continue cooking breast-side-up until the breast meat has reached 155 degrees.
Now this part will require your undivided attention. Baste the turkey with a few squeezes of a fresh orange. The sugar will help to caramelize the skin and give it a subtle citrus flavor. Turn the broiler on (the turkey will be on the second lowest rack) and broil for 5-10 minutes with the oven door OPEN until the skin gets some nice color all over. Remember to remove the thermometer at this point because most can’t sustain this high temperature. You will need to stay put and turn the roasting pan throughout to evenly brown the skin. Once the skin is evenly browned, if it has reached 161-165 degrees, then you can remove it from the oven to let it rest. If it has not reached that temperature yet, then turn the oven back to 350 degrees and finish baking until it’s 161-165 degrees. Now you see why having a digital thermometer is so helpful 🙂
I used these times for a 12-pound turkey. For a 12-16 pound turkey, it should take about 2 to 2 1/2 hours to roast.
EPIC ROAST TURKEY SECRET #5
Let the turkey REST before carving!
DO NOT EVER cut a roast as soon as it comes out of the oven. The juices will come running OUT of the meat and on your cutting board instead of reabsorbing and keeping it moist. You want it to REST for at least 30-45 minutes before carving. While the meat is resting, this is the perfect time bake or reheat your cornbread dressing and finish up any last minute details.
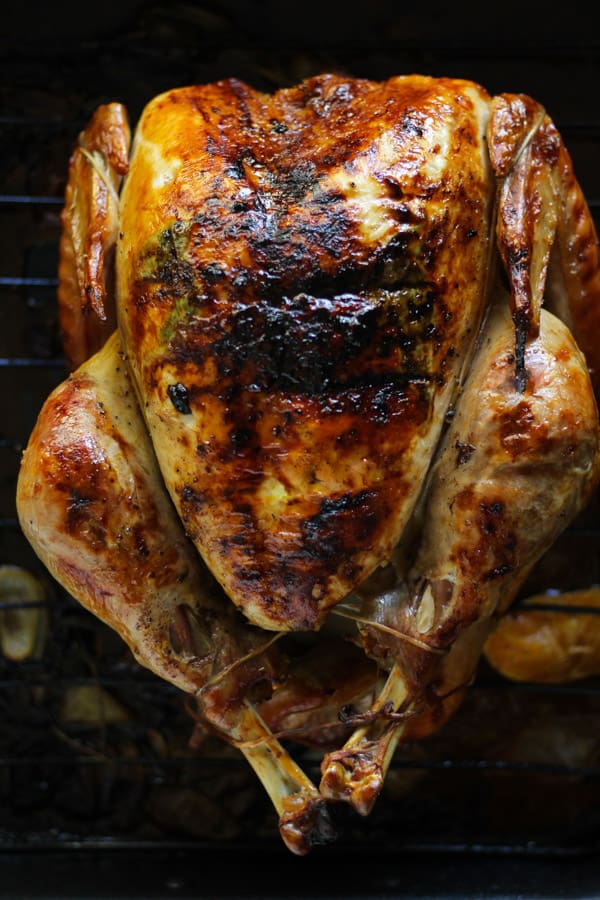
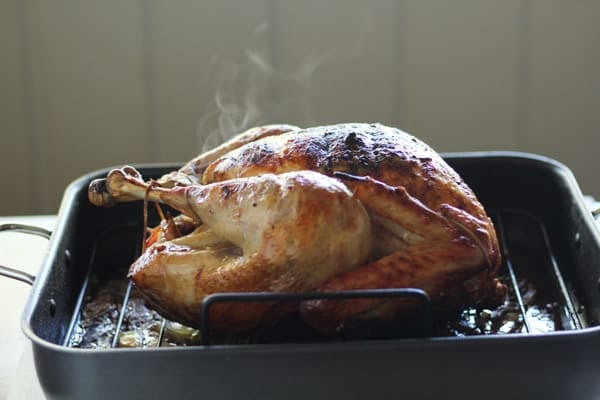
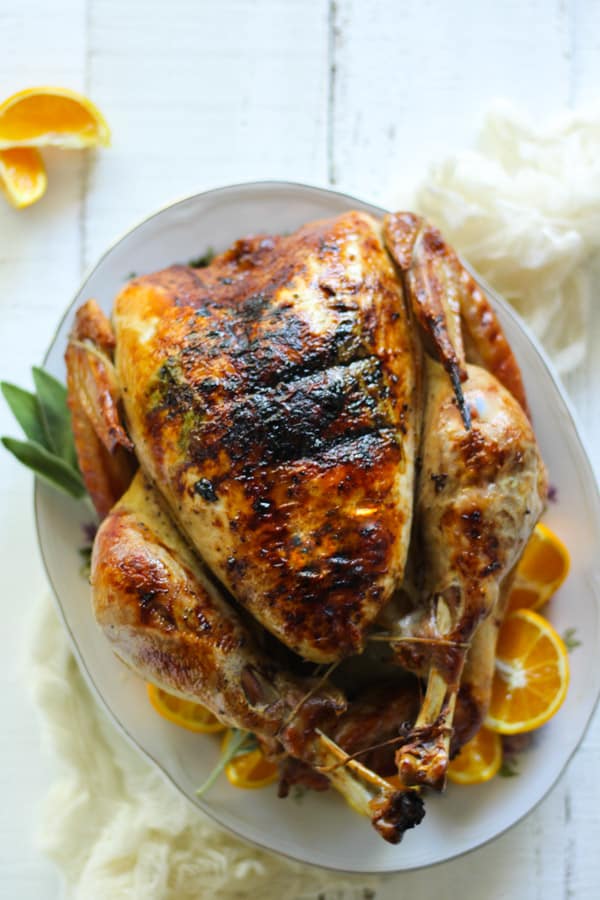
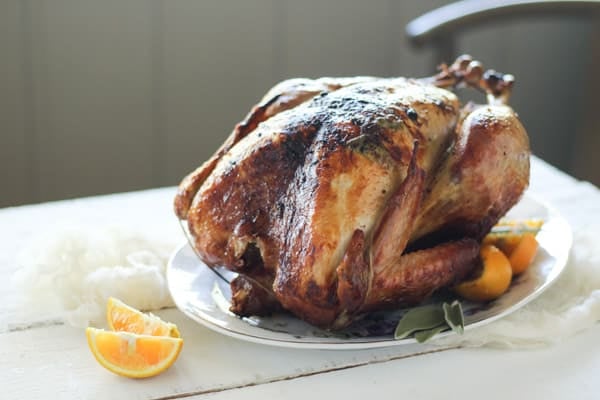
Ok yes, cooking your turkey upside down will cause a few indentions on the surface of the breast meat (as you can see below). But once you carve the turkey, no one will ever know!
TIME MANAGEMENT FOR PREPPING THE BIRD
Time management can be the single biggest stressor if you are hosting Thanksgiving or any party for that matter. My advice for preparing for the big day is to PREP as much in advance as possible, so when Thanksgiving arrives, it’s smooth sailing.
- My first tip is to buy your turkey at least one week in advance. Most grocery stores encourage you to reserve your turkey in advance, so take it home as early as possible, even a month before. Turkeys do sell out at grocery stores!
- If your turkey is frozen, allow for two full days of thawing.
- Brine your turkey the morning before Thanksgiving all day. Feel free to make the brine the night before and chill so all you have to do in the morning is submerge the turkey.
- That night, dry and truss the turkey, separate the turkey breast skin with your hands, and let it chill uncovered in the fridge overnight to allow the skin to crisp. All you have to the next day is fill the cavity with aromatics, season with duck fat and seasonings, add the broth and wine to the roasting pan before baking, which should take just a few minutes.
how to host an epic Thanksgiving dinner
Get my guide to being the hostess with the most-ess. See the epic post here. Here’s a sneak peek:
- Warm Apple Salad with Apple Cider Vinaigrette
- Sourdough Garlic Rosemary Rolls
- Epic Duck Fat Roasted Turkey (you’re here!)
- How to Keep Mashed Potatoes Warm (YES you CAN keep them warm and buttery and soft up to 4 hours in advance!)
- Southern Cornbread Stuffing/Dressing
- 15-minute Cranberry Clementine Sauce
- Perfect Pie Crust
- Peach Crostata with Spiced Crumble
- Cream Cheese Pumpkin Pie with Gingersnap Crust ( Recipe & Video)
- FREE Downloadable Prep & Planning Guide for the month, week, and day of (with a cooking timeline for the day the big day)
Pin this Recipe on Pinterest
WHEW! Ok I realize that was a lot of information, but the Thanksgiving turkey deserves due diligence.
If you have any questions about this recipe don’t hesitate to comment below. Please comment too if you make this EPIC roast turkey for Thanksgiving!!!
Gobble Gobble ya’ll,
Leslie O.
EPIC DUCK FAT ROASTED TURKEY RECIPE
Ingredients
- 1 12-16 pound turkey remove organs from the cavity and check the neck too!
For the Brine
- 1 gallon water 16 cups
- 1 gallon ice 16 cups
- 1 cup kosher salt
- 1/2 cup brown sugar
- 5-6 fresh sage leaves
- 1 cup orange juice
- 1 Tbsp peppercorns
Seasoning the Turkey
- 3-4 Tbsp duck fat
- freshly cracked black pepper
- 1 tsp cinnamon
- 2 onions quartered
- 2 oranges sliced
- handful fresh sage leaves
For the Roasting Pan
- 2-3 cups chicken broth
- 1 cup dry white wine
Instructions
Brining the Turkey
- For the brine, mix 1 gallon of water with the salt, brown sugar, orange juice, fresh sage, and peppercorns. Bring the mixture to a simmer, take off of the heat and pour into another bowl to let cool. Stirring for a few minutes at a time will help speed up the cooling process. Add the ice while it's still a bit warm so that it will melt and help cool the mixture down.
- While the brine is cooling, prep the turkey. Remove any organs from the cavity and check the neck cavity too! You can make the most excellent gravy from the giblets and the neck bone, so don't throw those away.
- Pour the brine in a large stockpot or food-safe storage container with a lid, making sure the brine is at room temp or cooler so as not to cook the bird. Submerge the turkey in the brine with the legs facing up so that the cavity fills up with the brine which helps to weigh it down. You might need to place something on top of the turkey to weigh it down (like a small bowl). Make sure you can cover it with a lid. Place the stockpot in the fridge and let brine for 8-12 hours.
Prepping the Turkey
- Remove the turkey from the brine and pour out all the liquid inside the bird. RINSE under cold water briefly to remove excess salt. Dry the entire turkey really well with paper towels.
- Truss the turkey with butcher's twine. This step is essential for helping the turkey to cook evenly and it helps to easily flip the turkey over without damaging the bird. Plus the presentation of the bird is more beautiful this way. Place the turkey in a large roasting pan with a rack. Glide your hands under the turkey breast skin to separate the skin from the breasts. Place the turkey in the fridge for 8 hours or overnight uncovered to help the skin dry out to allow it to crisp.
Baking the Turkey
- Preheat the oven to 450 degrees.
- Before baking the turkey, fill the cavity with a quartered onion, an orange cut in half, some fresh sage, and crushed black pepper. Rub some duck fat under the turkey breast skin that you separated and place two fresh sage leaves under the skin as well.
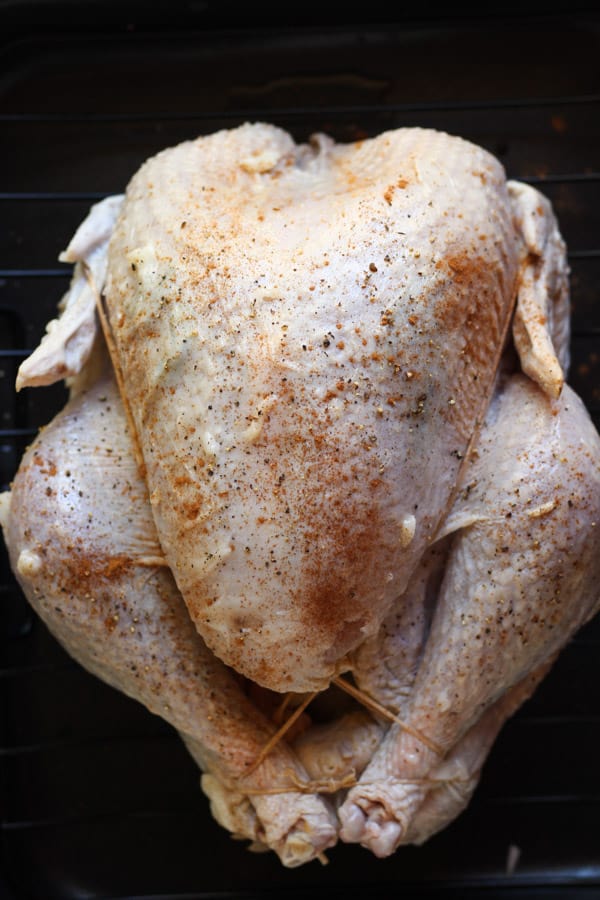
- Rub the entire bird with duck fat and season it with fresh cracked pepper and cinnamon. Sprinkle the cinnamon with your fingers as to not dump too much on the surface. DO NOT season with salt, as the brine has sufficiently seasoned the turkey already.
- Add a half-inch worth of chicken broth to the bottom of the pan. Add the one cup of white wine as well.
- Place the rack on the second to the last rack on the bottom.
- Start baking the turkey BREAST SIDE DOWN first. Bake for 30 minutes at 450 degrees. Turn down the heat to 350 degrees and continue to bake breast side down for one hour.
- Take the roasting pan out of the oven and with a wooden spoon and a pair of thongs inserted in the neck and cavity, gently flip the bird over to breast side up. Insert a thermometer into the turkey breast, making sure to avoid touching bone (the temp won't be accurate).
- Place back in the oven and bake until the breast meat reaches 155 degrees. Remove the thermometer so it doesn't burn. At this point, squeeze a fresh orange over the surface of the skin. Turn the BROILER on and keep the door OPEN to crisp the skin. Don't walk away as you don't want anything to burn. Turn the roasting pan a half turn after a few minutes to ensure even browning. This should take 5-10 minutes TOPS.
- Once the skin has browned, remove the turkey from the oven and check the temperature again. If it has reached 161-165 degrees, the turkey is done (it will continue to bake while it's resting). If the temperature hasn't reached 161-165 degrees yet, turn the oven back to 350 degrees and finish baking for a few minutes. I don't recommend waiting until the turkey has reached 161 degrees before you start broiling, as it might over cook the turkey.
Let the Bird REST!
- DO NOT EVER start carving a turkey the minute it comes out of the oven as the juices will start running OUT of the bird. Instead, let the bird rest for 30-45 minutes to allow the juices to reabsorb into the meat.
Notes


Planning on trying this next Thanksgiving. Thanks!
Fantastic! The techniques will give you an unforgettable turkey.
Looking forward to trying this out. Do you bake the turkey covered or uncovered?
I didn’t make a turkey this year. I will definitely use your recipe for my next turkey. I love how you included the techniques as well
Thank you Yvonne!
I’ve read in so many places not to Brine a bird like Butterball that already has 8% brine. Do you buy a special brand or do you find it’s okay to brine a bird that already has been.
That’s a good point! I’ve purchased various brands throughout the years so it depends on the store I’m going to and what brand they carry. You can always ask the butcher department about this if the label doesn’t say if it’s already brined or not. They may be able to recommend a brand they carry that hasn’t already been brined. But if you can only find a brand that has already been brined, cooking the bird upside will still result in an absolutely delicious turkey breast meat!