After doing primarily food photography for 5 years, I’ve tried to figure out the most cost effective ways to improve my photos without buying a new camera or lenses. Food photography equipment, especially cameras and lenses, comes at a STEEP price so you often have to space out your purchases over long periods of time.
But I’ve found that these 3 tools and resources for food & product photography have completely transformed my photos, improved my workflow, and massively improved my composition and styling, resulting in higher-quality photos that have helped me grow my business.
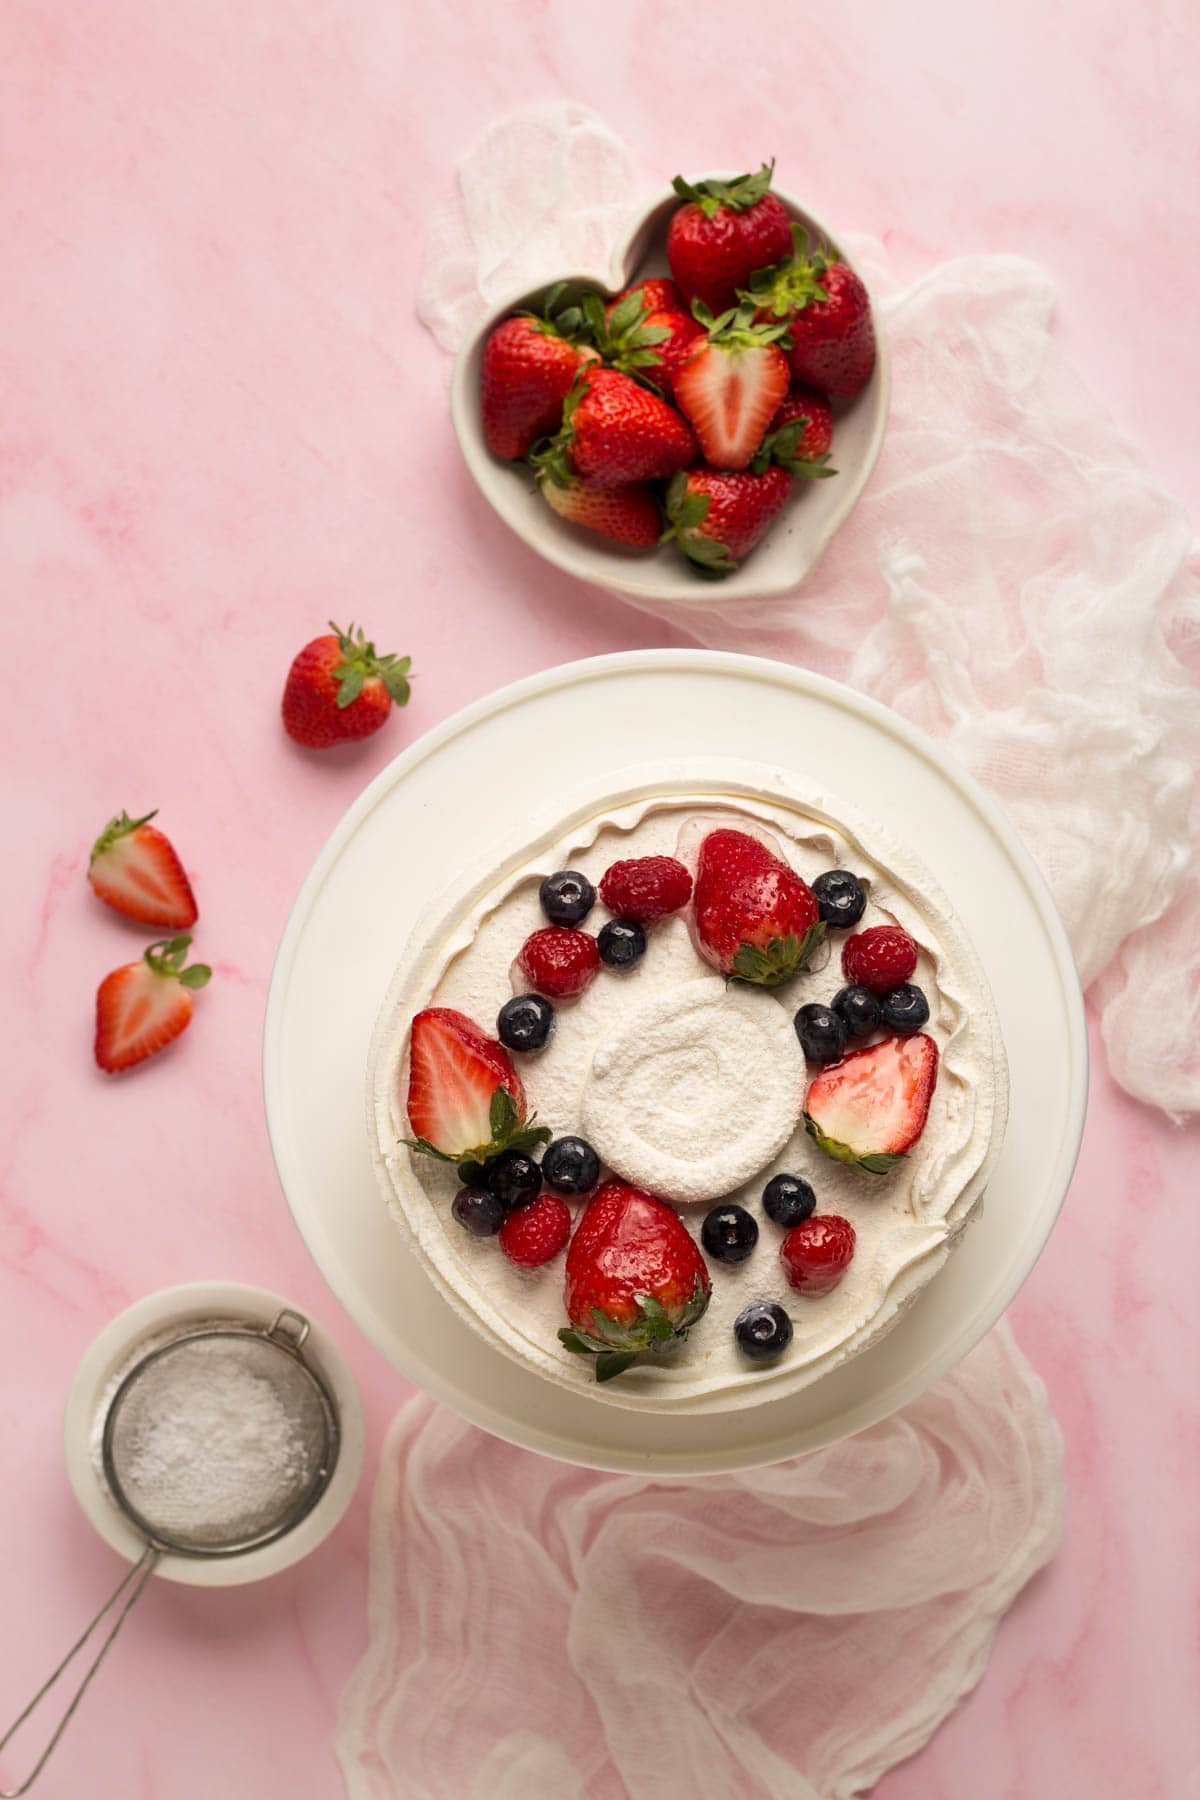
A shiny new expensive camera and/or lens will not help you improve your photos if you haven’t worked on the foundational skills of photography first, like styling, lighting, composition, and understanding your camera settings and how to use them in manual mode.
In the last 18 months, my photography skills have improved more than they had in the previous 4 years (without purchasing a new camera or lens) because I wasn’t using these tools that I’m going to share with you.
Please note some of these links are affiliate links.
Essential tool 1: Tripod with an overhead arm
Hands down nothing has improved the quality of my photos like a tripod with an overhead arm so that I could create perfectly level flatlays. And I can’t stress enough the importance of using a tripod of any kind (even if you don’t have one with an overhead arm).
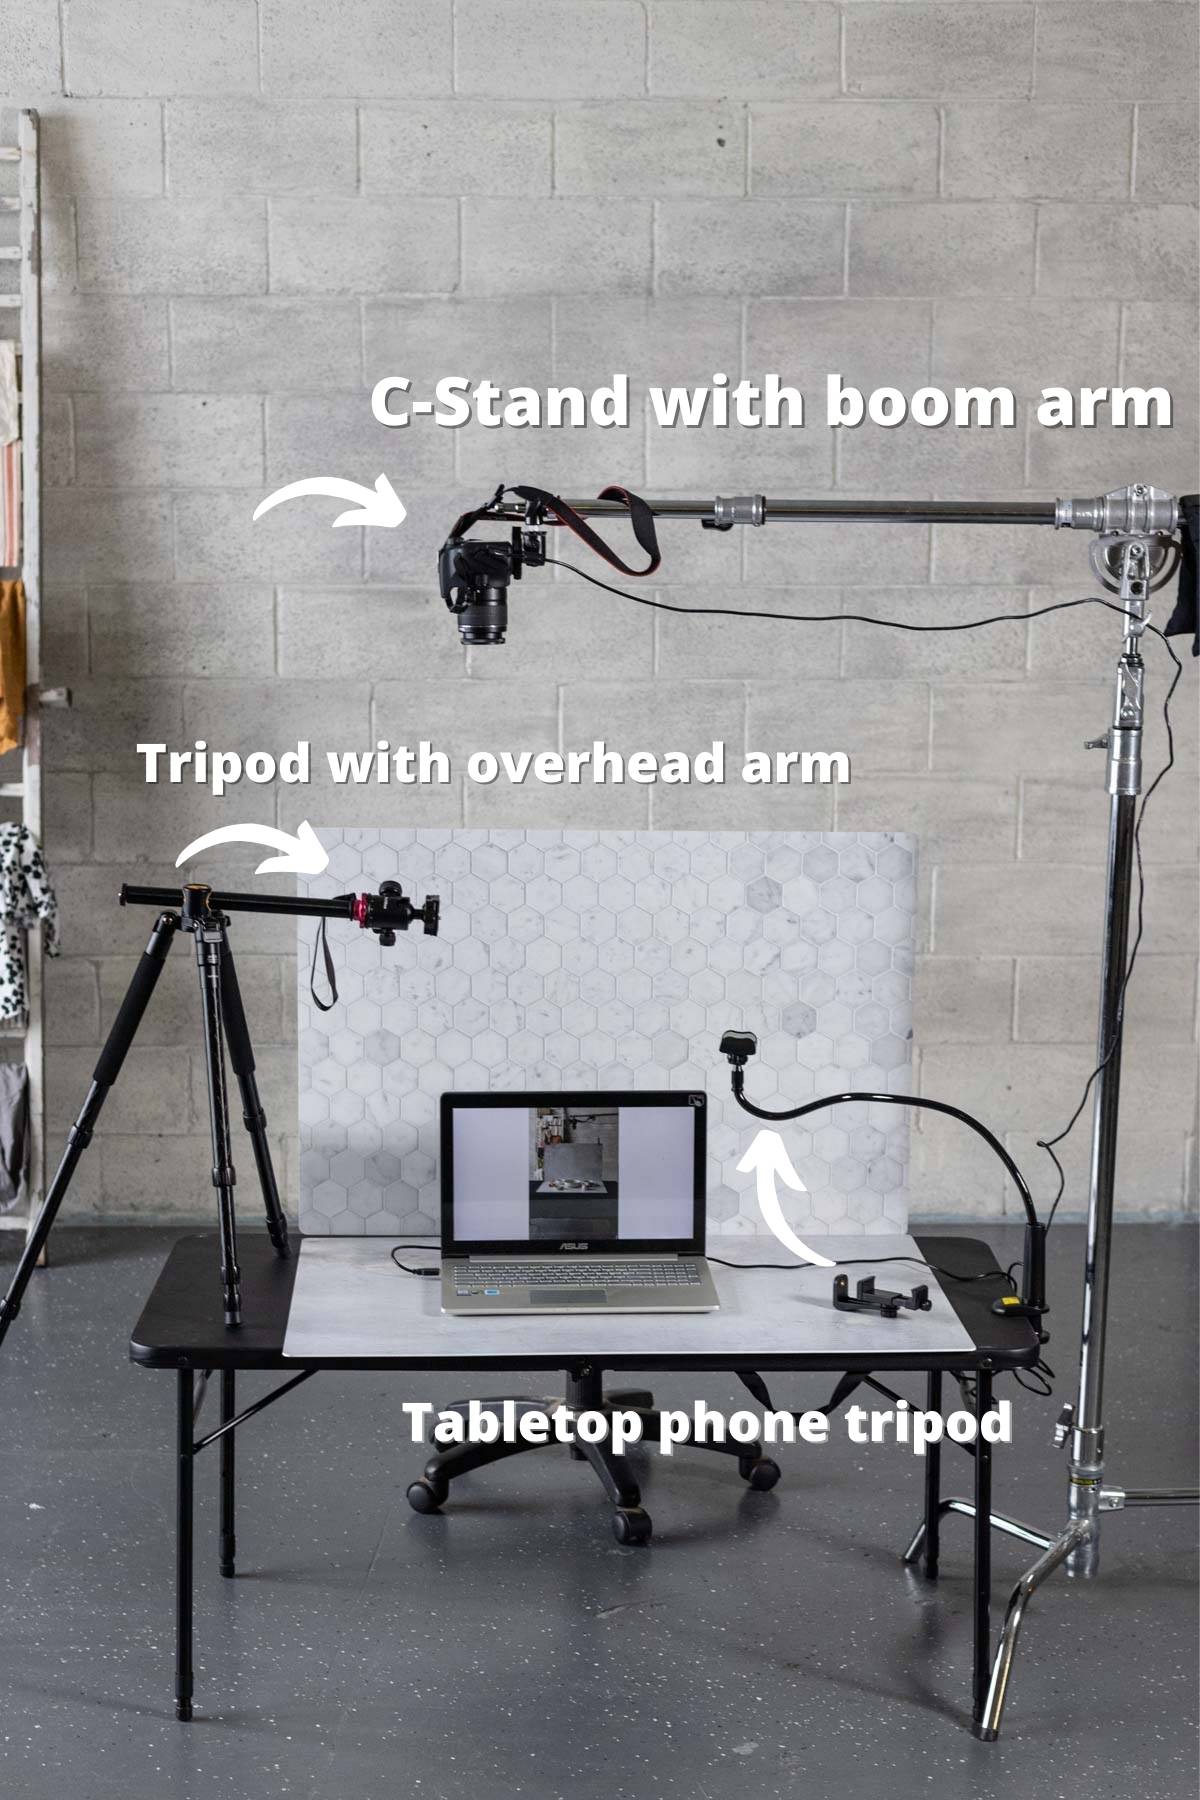
The Vanguard Tripod with overhead arm is a great choice for Sony, Nikon, or Canon DSLR cameras because it’s sturdy enough to handle up to 11 pounds in the weight of your camera and lens.
It’s always recommended to purchase sandbags as counterweights to ensure your tripod doesn’t tip over. The last thing you want is for your tripod to crash and break your camera!
The Impact Turtle Base C-stand and Boom Arm (two separate pieces) is what I use and is the large tripod photographed above. I’m not going to lie, it’s a beast of a tripod but it’s so great because the arm extends out quite far so it can be out of the way if I need to create a “hands in pans” style video or if I want to get my hands in the photos. The arm can move 360 degrees so I can place it to the side of the table or behind it with room to move around without knocking it over.
I only recommend products that I use and love so I’ve linked the c-stand to B & H Photo instead of Amazon because this is where I bought mine. There are tons of c-stands on Amazon but I don’t know how sturdy they are compared to the boom arm on this one. Keep in mind that most c-stands come with thinner arms that aren’t meant to handle heavy cameras and lenses so you have to purchase the boom arm separately. I called B & H (which I highly recommend you do) to ensure that I got the correct pieces for what I needed. They removed the thinner arm from the order and added the boom arm (which is heavier and can handle heavy cameras and lenses). They can also ensure you order the correct camera mounts for your camera to attach it to the c-stand. I just recommend giving them a call or live chatting before purchasing to ensure you get everything you need. These aren’t affiliate links below so know that I genuinely love this c-stand.
Finally small tabletop tripods with a clamp for your phone are available! I wish I had one of these a long time ago because they are SO affordable (about $20 at the time of writing this post). They clamp to a table and can be adjusted based on the thickness of the table. The arm can be moved in an overhead position or any other position for that matter. They only work for phones but considering that so many of us are needing to quickly snap photos or film videos they come in so handy! I would recommend you get one of these because you are likely using your phone for social media posts.
If you use a regular tripod (with or without and overhead arm) and need a clip for your phone to attach to your tripod this is the clip that I have and it works great.
Essential tool 2: Tethering
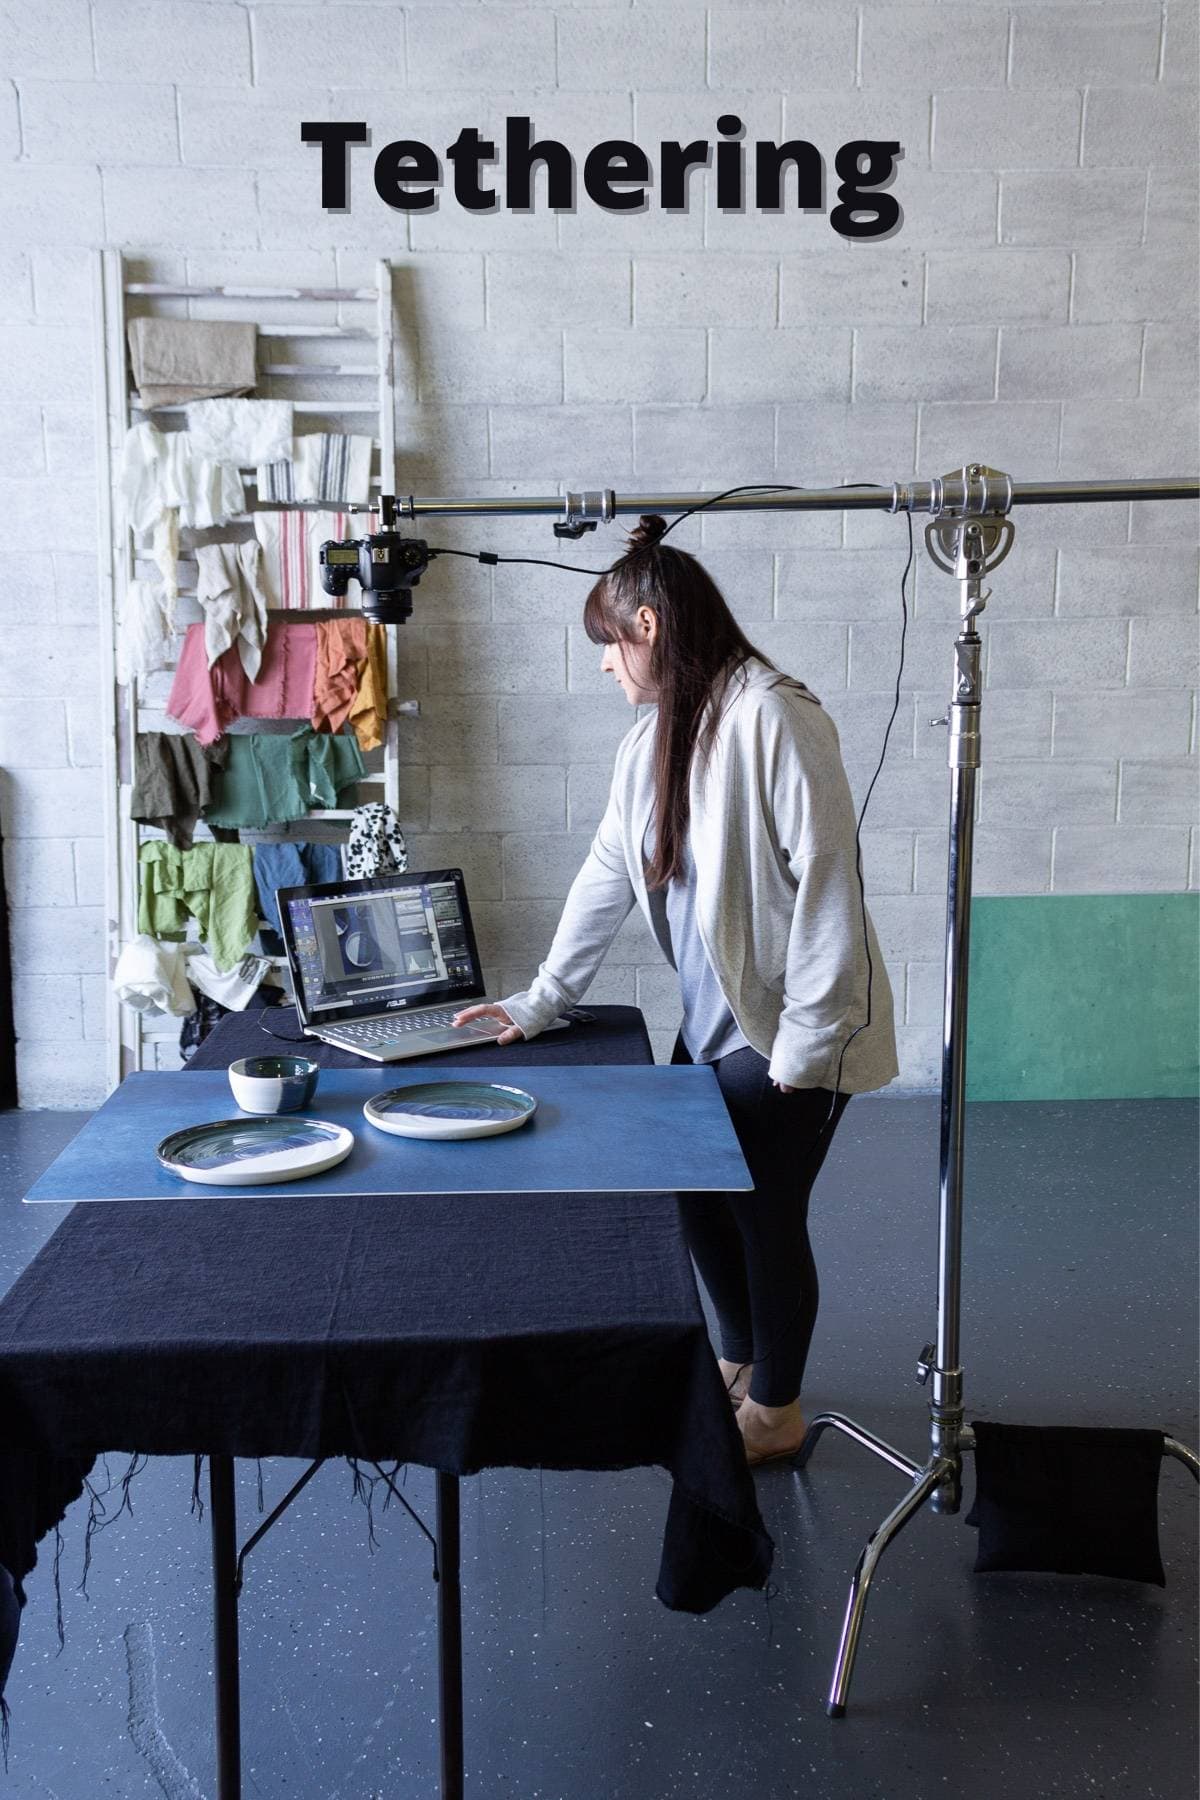
Tethering your camera to your computer absolutely changed the way I shoot photos. It helps me speed up my workflow, and most importantly, allows me to see what my camera sees without having to look into the camera that is often way up high on my c-stand. The magical things is that I’m able to hit the shutter so I can take photos from my computer without having to touch my camera!
No more climbing up and down a ladder to see into my camera. I’m hands-free this way and it keeps my camera totally steady by not having to touch it, which reduces camera shake. My photos are automatically uploaded into my computer or external hard drive (this is ideal) so I can zoom in and check for white balance issues, focus, blur from camera shake. etc. It’s really difficult to get a true idea of what your photos look like from the small screen on the back of your camera. You often don’t catch things like the photo being out of focus.
And did you know that the back of your camera screen is showing you the jpeg version of your photo and not the raw file?! This means that your photos will often look brighter on the back of your screen than they actually are because you are seeing a smaller file size.
Before tethering I used to take over 100 photos or more to get the shot. Now I can tweak as I go and I don’t need to take so many photos.
Use live view mode if you can
If you have a Canon camera you can download FREE software directly from Canon that allows you to connect your camera to your computer so you can see a live view of what your camera sees! You can see in real time what your scene looks like when you move items around. It actually looks like a live video even though your camera is in photo mode.
Live view mode allows you to import photos in a folder immediately, change your camera settings, adjust your white balance, take a photo, tap the screen to change where the focus point is, all directly on your computer!
And you can shoot video in live view mode too! All you have to do is switch your camera to video mode and the software will automatically change to video. You can start and stop the video on your computer, change your camera settings and adjust your white balance, change the focal point without having to touch your camera and risk it moving!
What this does is act like an external monitor for your camera. External monitors can easily cost hundreds of dollars, but with Canon you can do this for FREE!
You’ll need to visit the Canon EOS Utility page and click on your camera model to get the compatible software for your computer.
Tethering in Lightroom
In October 2020 Adobe Lightroom (my favorite editing software I use) was updated to have live view mode for Canon cameras only. If you have another type of camera you can still tether directly inside Lightroom where you can alter camera settings, take the photos, and have the photos immediately imported into Lightroom for viewing and editing. Without live view mode, you may take more photos, but you still have the big advantage of seeing your photo and composition and making changes as you go.
Tethering cables: I would recommend contacting B & H photo for the correct tethering cable since not all cables will fit all cameras.
Essential tool #3: Photography Backdrops
High-quality photography backdrops will make or break your photo. They are the foundation to the styling and the mood of your image. I struggled the first 3 years of making my food photos look appetizing because I wasn’t using a tripod and I didn’t have backdrops that made my scene pop.
I couldn’t afford hand-painted backdrops so I just used smaller wooden boards or surfaces that didn’t give me flexibility creatively speaking when styling my photos. And my photos all looked the same because I was using the same two surfaces so I couldn’t really create something new and interesting.
That’s why I set out to create high-quality backdrops because the whole look of my photos began to transform once I created faux surfaces of real materials like marble, wood, tile, and plaster.
Yes, I know, I may seem bias (I totally am!) but backdrops have changed everything about the quality of my images! My husband and I created our own brand of food and product photography surfaces called Bessie Bakes Backdrops that we sell exclusively on Amazon, and we have sold our products to thousands of happy customers since 2019. I’ve been blown away by the support of our community and customers.
If you want to see what our awesome customers have created with our backdrops check out all of the posts they have “tagged” us in on Instagram!!
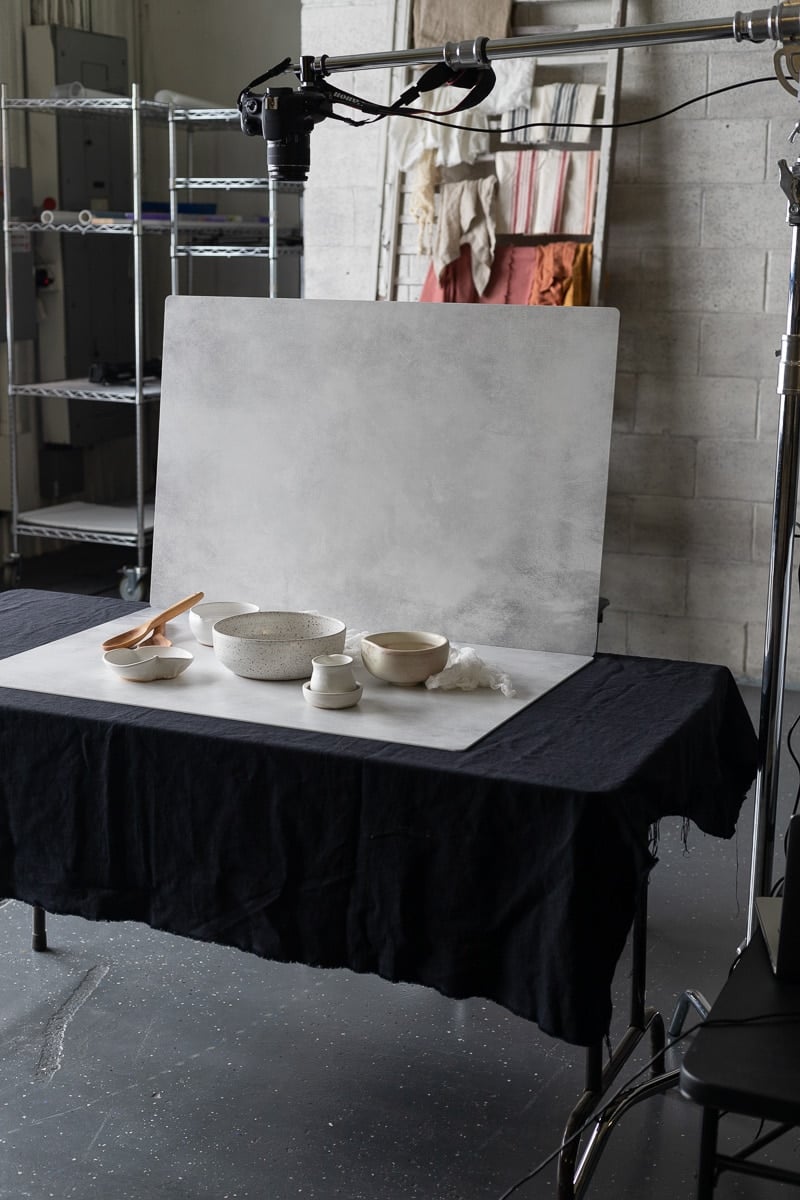
Pictured below are two of the Cloudy Gray backdrops.
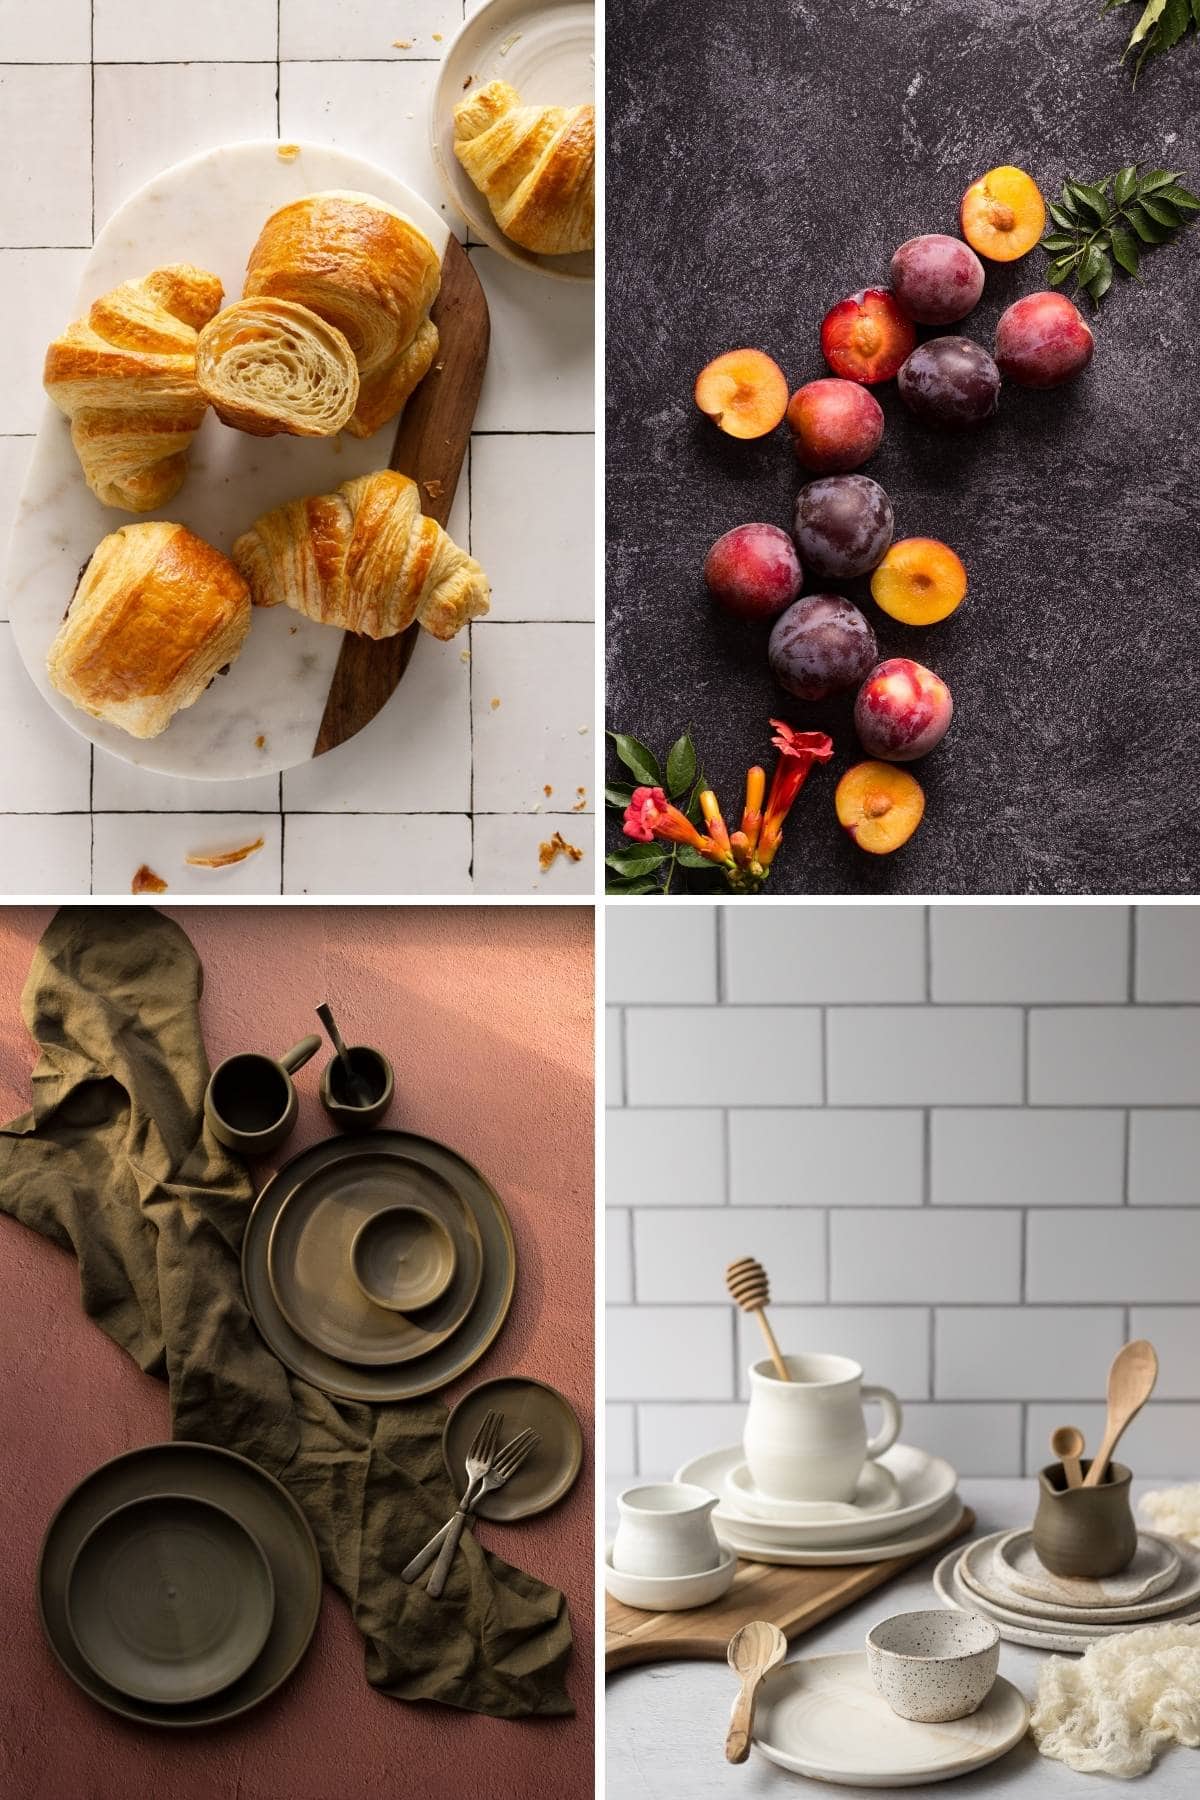
Picture in the grid below (all of our styles are faux surfaces!)
- Morrocan Tile Backdrop
- Black Textured Paint
- Terra Cotta
- The Most Realistic Subway Tile (standing up) and the Soft Concrete (laying flat)
I wrote a post about easy ways to hang backdrops up as a fake wall so check it out!
I hope you find these tips helpful and give them a try yourself! Do you use any of these tools yourself?
Comment below!
Sincerely,
Leslie O.


Leave a Reply