This recipe for Grilled Garlic Naan Bread is easy to make at home, and is the perfect accompaniment to Indian dishes, or for a unique spin on tacos or pizza! I’ve included a step-by-step-video so you can make them at home too!
I absolutely love Indian food. For me, the best part of the meal is the freshly prepared garlic naan that’s served with your dish. Traditionally naan bread is cooked in a tandoori oven that has is a cylinder-shaped clay oven heated with charcoal or wood. The bread is stuck to the side of the oven and cooks fairly quickly. This gives it that authentic flavor that can’t be matched in the oven or with a skillet. Since I don’t have a tandoor lying around, I wanted to try grilling naan bread at home to see if I could replicate the flavor and texture. In my first attempt at creating a recipe for naan bread, I used a cast iron skillet, which resulted in a beautiful texture, but took FOREVER because you can only make one…at…a…time. It takes several minutes to cook each piece of naan because you have to use moderate heat so you don’t end up with a crispy exterior and a raw, uncooked interior. Multiply that by 8 pieces of naan, and you are standing over the stove for about an hour!
Since a tandoor is simply an ancient grill/cooking vessel, I figured the grill would speed up this process since you can grill all the pieces at once (plus you’ll get those lovely grill marks too).
Because I am passionate about posting detailed recipes and photos for artisan bread ( I took an intensive two-month course in Chicago with master bakers!), I want to share this knowledge with all of you who may feel intimidated by the thought of making any kind of bread at home. My first mega artisan pastry blog post was my post on how to make authentic Parisienne Traditional and Chocolate Croissants with over 40 step-by-step photos! To help inspire you to try this naan bread recipe, I’ve also included a ton of step-by-step photos and a video too!!!
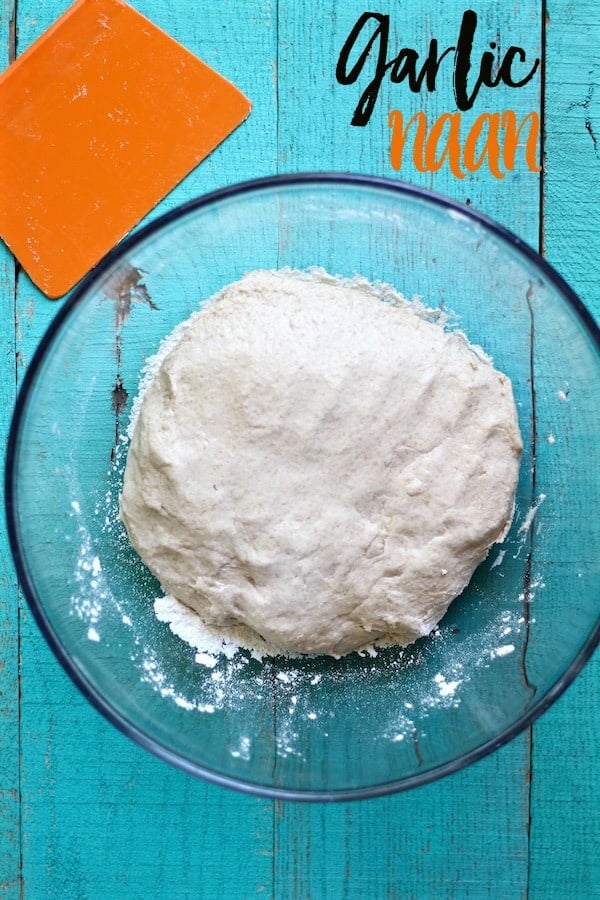
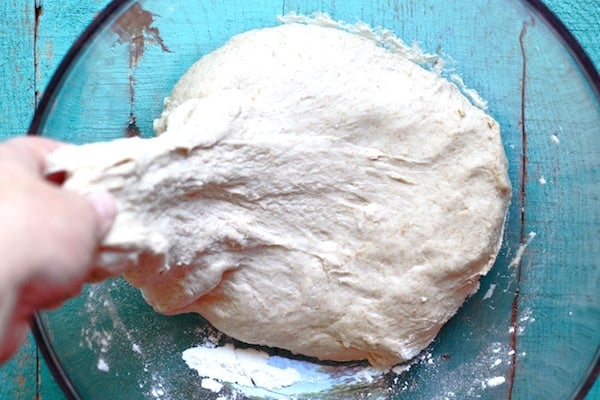
This recipe includes a few simple ingredients: All purpose flour, whole wheat flour, water, yogurt, honey, olive oil, salt, and baking powder. All purpose flour is used for a lighter texture, while whole wheat lends an earthy aroma and texture. If you want super soft naan, use only all purpose flour. You can definitely knead the dough by hand, but I used a Kitchenaid Mixer. The problem with making dough in a Kitchenaid, is that it often over-mixes the dough, making it tough. The best way to get around this is to only mix the dough until the gluten is formed enough that it holds a stretch, but it tears apart easily. This way you are allowing the fermentation and the “folding” action to strengthen the dough. The video below shows you what it should look like.
This is an essential method used by the best artisan bakers. Normally professional bakeries have specialty mixers that don’t over-knead the dough, thereby allowing long fermentation (sometimes up to three days) to create a gluten structure that produces large holes in the interior, and a lovely buoyant texture. Ok, here I go rambling, BUT it’s possible to recreate these nuances at home.
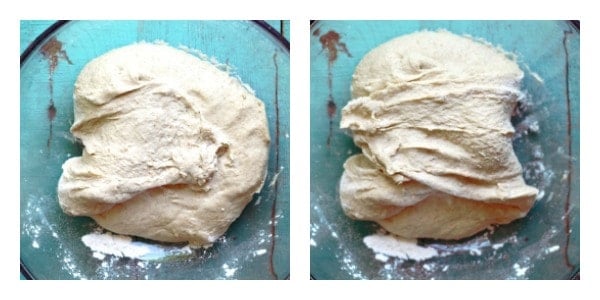
WHAT DOES IT MEAN TO FOLD THE DOUGH?
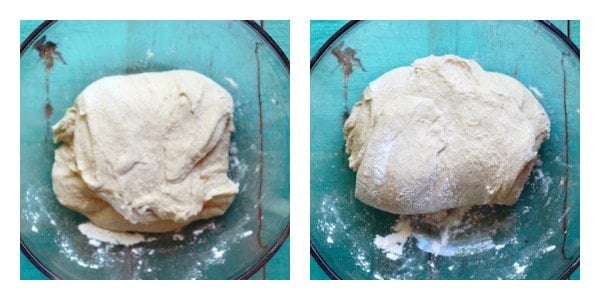
Below is an illustration of how to fold the dough, thereby strengthening the gluten naturally without creating a tough texture. Fold all four corners toward the center and flip the dough over to let it rise. Obviously, the process of folding is done AFTER you have kneaded the dough.
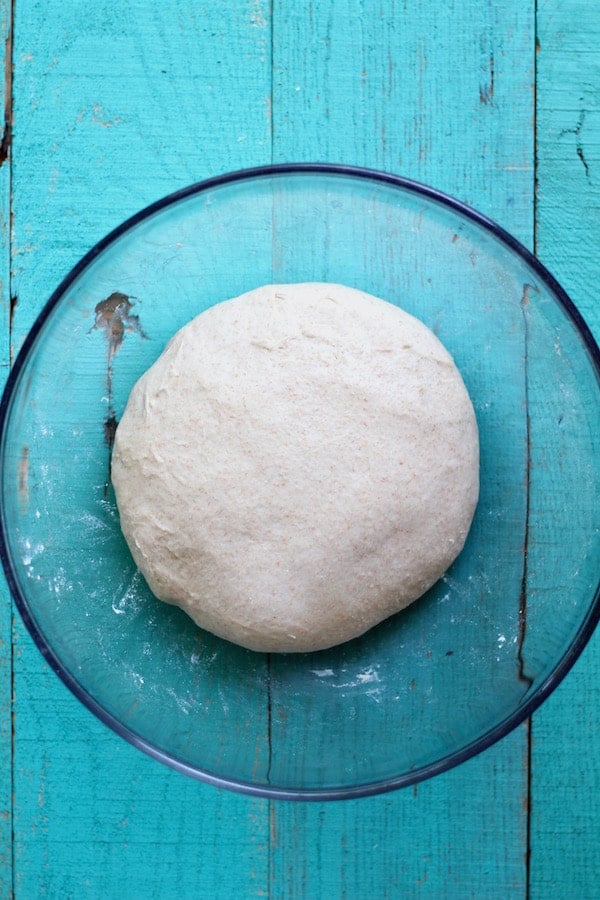
And below is what it looks like once you flip it over and are ready let it rise. Cover with moist paper towels or a clean moist kitchen towel. The best place to let it rise is inside the oven with the light turned on. DON’T TURN ON YOUR OVEN, the heat from the light is sufficient to create warmth and the moisture in the towel will create humidity. This should take around 90 minutes-2 hours. The longer you wait, the more flavor it will have. You can also place it your fridge for up to 8 hours to slow down the fermentation process to create even MORE flavor, just punch down the dough every 3-4 hours so it doesn’t over-proof.
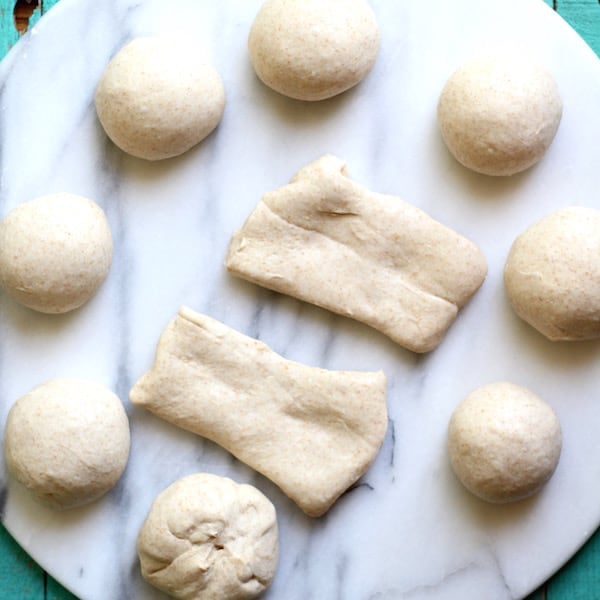
Next, cut the dough into eight pieces and cover with a towel while rolling so they don’t form a skin on top.
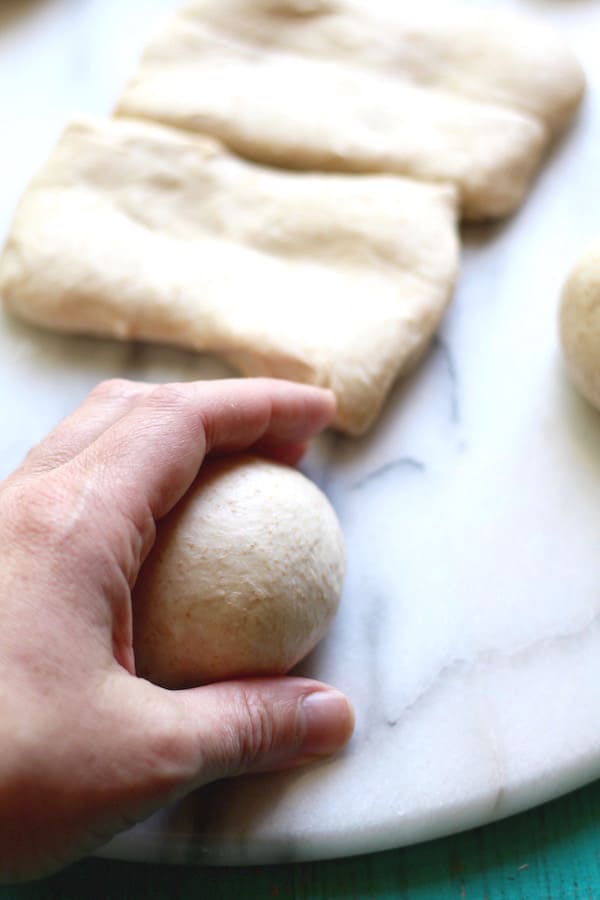
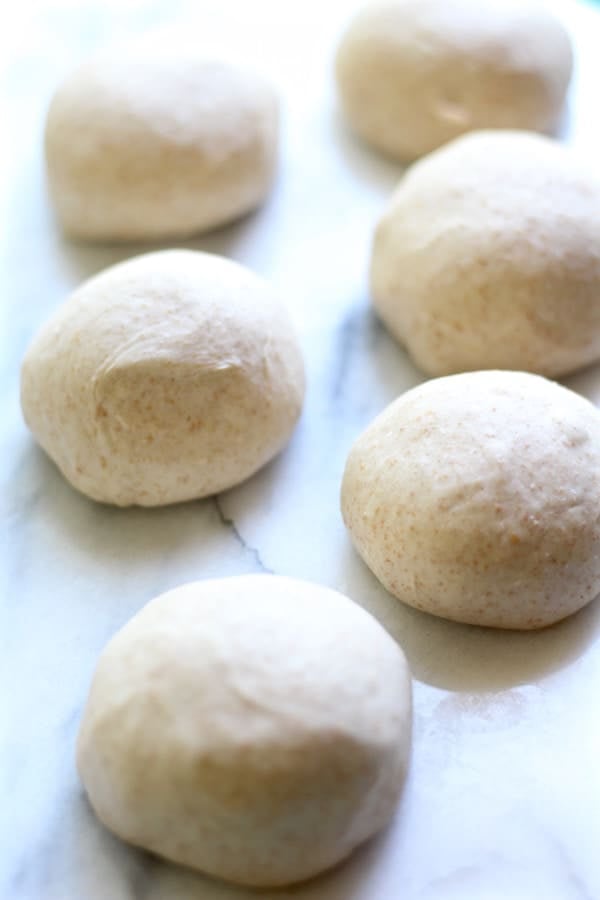
The best way to roll them is on a surface with NO flour. Keep a small pile of flour to dip your hands in to keep it from sticking, but the friction against the table or countertop will help the dough to form a ball. Do this with one hand, and have a bench scraper handy if it’s really sticky. Watch the video to check my technique out.
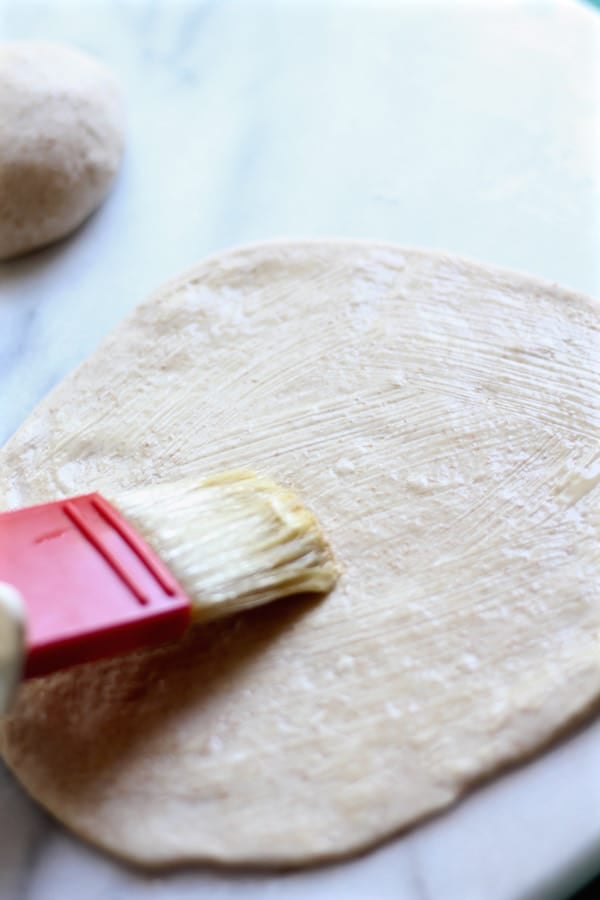
Now roll out the dough and brush with butter or olive on both sides. Place on sheet pan with parchment paper, or just oil the pan really well so the naan doesn’t stick.
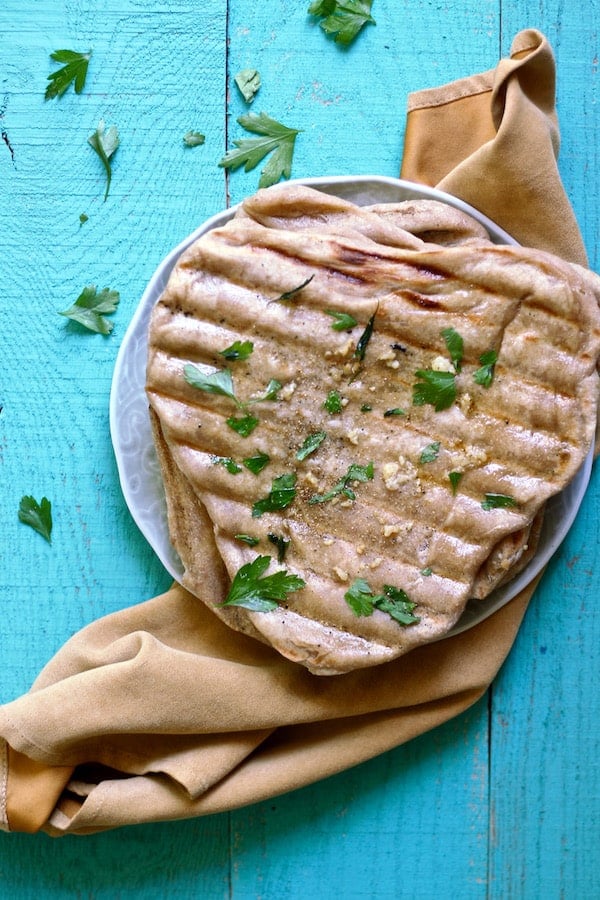
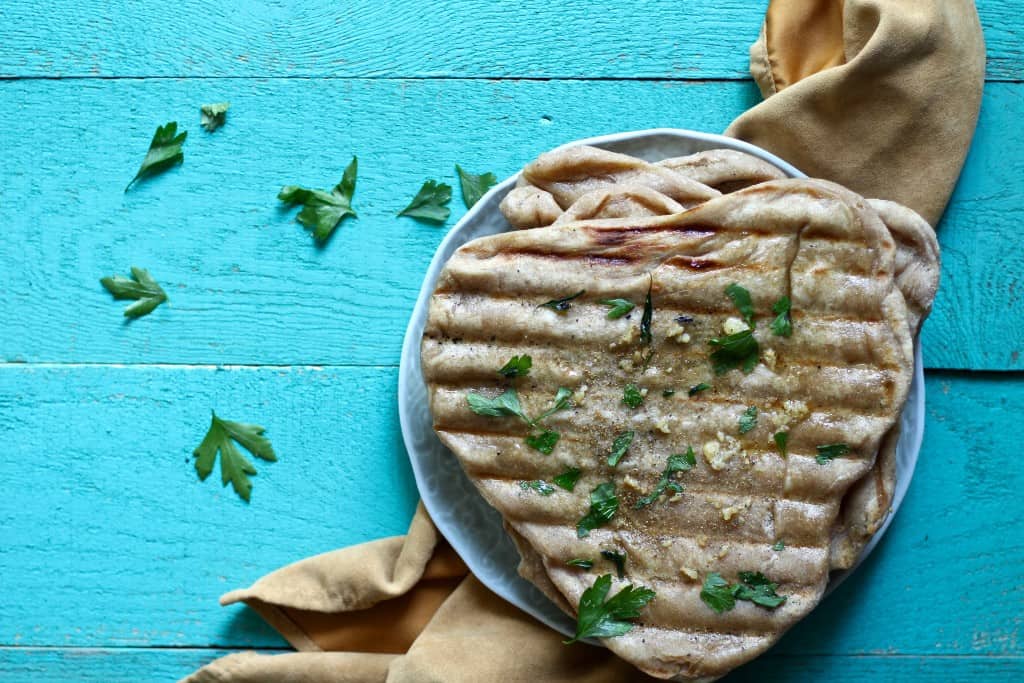
Heat your grill to medium heat, no higher. If the grill is too hot, the outside will be crispy, but the interior will be raw. Grill both sides for about 4-5 minutes per side. If the flatbread is grilled too quickly and is raw on the inside, you can simply finish them off in a 325 degree oven for a few minutes. When you flip the flatbread over to grill the other side, top with garlic, cilantro or parsley leaves, and ground coriander. See the whole process in action with my little video below!
GRILLED GARLIC NAAN BREAD
Ingredients
- 3 cups all purpose flour 364 grams
- 1 1/4 cups whole wheat flour 156 grams
- 1 1/4 cups water 255 grams
- 1/2 cup plus 2 Tbsp. plain yogurt
- 1 Tbsp heaping . olive oil 16 grams
- 1 tsp . honey
- 1 1/2 tsp . salt 10 grams
- 1 1/2 tsp . baking powder 6 grams
- butter or olive oil for brushing
- leaves cilantro or flat leaf parsley
- 3 cloves garlic minced really finely
- ground coriander for sprinkling
Instructions
- Add the honey to the olive oil to allow for easy pouring. Add the water, yogurt, olive oil and honey in a mixing bowl and stir to combine. Add the all purpose and whole wheat flour, salt, and baking powder. Stir to combine with a with a spatula to help incorporate the ingredients together.
Quick Tip
- If you want a softer dough, omit the whole wheat flour and replace that amount with all purpose flour.
Mixing the Dough
- Use a Kitchenaid mixer with the dough hook attachment. Mix the dough on low speed (Speed 1) for about 2 minutes until the dough forms a ball. Turn the mixer up to speed 2 and mix for an additional 3 minutes or until the dough can be stretched but tears apart easily (see video for illustration).
Folding the Dough
- Lightly flour a work surface and flour your hands. Place the dough on the surface to fold. Don't dump flour on top of the dough, as you will add unnecessary flour inside the dough. Fold each of the corners toward the center to help strengthen the dough (see photos or video for instruction). Flip the dough over and place back in the mixing bowl to rise. Cover with a moist paper towels or a moist clean kitchen towel.
Fermenting the dough
- The best place to ferment the dough is inside a cooled oven that is turned off with the light turned on. If you recently turned the oven on, make sure it's completely cooled down. The heat from light is sufficient for warmth, and the moisture from the paper towels or kitchen towel with create humidity. Let the dough ferment about 90 minutes-2 hours or until the dough has double in size. Alternatively, if you want EVEN MORE FLAVOR, you can ferment the dough in the fridge all day (up to 8 hours). Just punch the dough down every 3-4 hours so it doesn't over-proof. Nothing creates flavor like long fermentation.
Shaping the Dough
- Remove the dough from the mixing bowl and reserve the towel. Cut the dough into 8 pieces and cover with the towel while shaping so it doesn't form a skin on top.
- Do not flour the surface that you are rolling on, rather have a small pile of flour to dip your hands into. The friction of the surface will help shape the pieces into balls. Tuck the corners in toward the center of the piece and turn over and roll into a ball with one hand (see photos and video). A bench scraper is handy for scraping dough if it gets stuck to your hands or the work surface.
- Now flour the surface and a rolling pin and roll each piece into a flat circle, keeping the extra pieces covered while rolling out.
- Brush each side of the flatbread with melted butter or olive oil to keep it from sticking. Place on a sheet pan.
- Heat the grill over medium heat, as you don't want it too hot. The outside will burn before the center is cooked otherwise.
- Place as many pieces of flatbread on the grill that will fit at one time. Grill on each side for 4-5 minutes. When you have flipped the flatbread over, top the cooked side with garlic, cilantro or parsley leaves, and a sprinkle of coriander.
- Make sure not to burn either side. If the dough is still undercooked in the center, you can pop it in a 325 degree oven for a few minutes to finish cooking.
- Serve immediately as a side item, use as a taco shell, or use it as a pizza crust too!






Leave a Reply